
Can You Afford to Eat Healthy? (Part 2)
/I really outdid myself this week! By doing research and planning ahead, I have managed to get this week’s grocery bill to $40 and change for two people, plus leftovers and extra ingredients. Everything I planned for this week was plant-based and loaded with veggies, beans, and whole grains, but you can easily add your meat of choice to any of these meals to make them omnivore-friendly.
How did I get my cost that low? This week I had a different strategy.
Beans
Beans are a food that I rarely saw on our plates growing up but have now become a regular part of my everyday eating. As I was doing research during my 30-day Plant-Based Diet Challenge, I found that beans may help you live a longer life, and have been associated with lowering blood pressure, as well as regulating blood sugar, insulin, and cholesterol.
I quickly realized that dried legumes were going to be my strength in this budget challenge. One bag of dried beans can make about 6 cups of cooked beans for less than $2. So I figured, why not make a meal plan for this week that features dried beans, lentils, and chickpeas? I chose a few meals like Lentil “Meatloaf”, Cheezy Chickpeas, Black Bean Dip, Spiced Chickpea Buddha Bowls, and Sloppy Jills to get me through this week.
Grains
To start my planning I made a list of the grains that I already had on-hand that I could easily incorporate into my meals. I had everything from brown rice to millet to Kamut (I didn’t know what that was either, but I found out this week). I also asked for advice in some Facebook groups about what to eat to keep me full all day. The top hit was barley- which I wasn’t expecting at all! So this week, barley was the only grain I needed to add to my shopping list.
Having never made barley before, I decided to use it like oatmeal and turn it into a breakfast dish. My Instant Pot saved me once again and I had Apple Pie Breakfast Barley in just 20 minutes (recipe below). I took a full cup serving thinking it looked like the same amount of oatmeal I would typically eat.
Well, I didn’t even need that much. One cup of dried barley ended up making 4 servings at about 3/4 cup each. That one bag of barley cost $1.29 and I still have half of it left. I’d say that’s a steal!
The one issue you may run into is that cooking grains and dried beans can be really time-consuming. The recommended cooking time on the bag of barley was 45 minutes on the stove, and beans can take hours to cook. Thankfully, with the Instant Pot, I was able to cut my cooking time down by a lot. My Saturday and Sunday were spent cooking buckets of chickpeas, black beans, barley, lentils, and more. If you don’t have the time for this, you may want to use canned beans. With canned beans, you can use them right away, or even just throw them in at the end of cooking just to warm them.
Planning
Something else I found to be really helpful in planning my meals was to venture into my collection of cookbooks and find some new things to make. Many of my recipes this week were from Thug Kitchen and Vegan Under Pressure (which is quickly becoming my new favorite cookbook). These are both great cookbooks for a plant-based challenge since they’re vegan. Usually, my biggest expense while cooking is the meat component, but by cooking from these, I’m avoiding that extra cost. Of course, any of the meals I made this week can easily be transformed into an omnivorous meal by adding some grilled meat on the side.
I did create a few of my own recipes this week, including Black Bean Dip, Apple Pie Breakfast Barley, and Baked Banana French Toast (recipes below). The rest of my meals were several recipes combined together to make a meal, or mixed-and-matched ingredients together, like what I used to make the perfect Buddha Bowl. My husband loved the black bean dip so much that he said it has to be a staple in our house going forward. I shared some with my coworkers and they also thought it was delicious.
Thug Kitchen
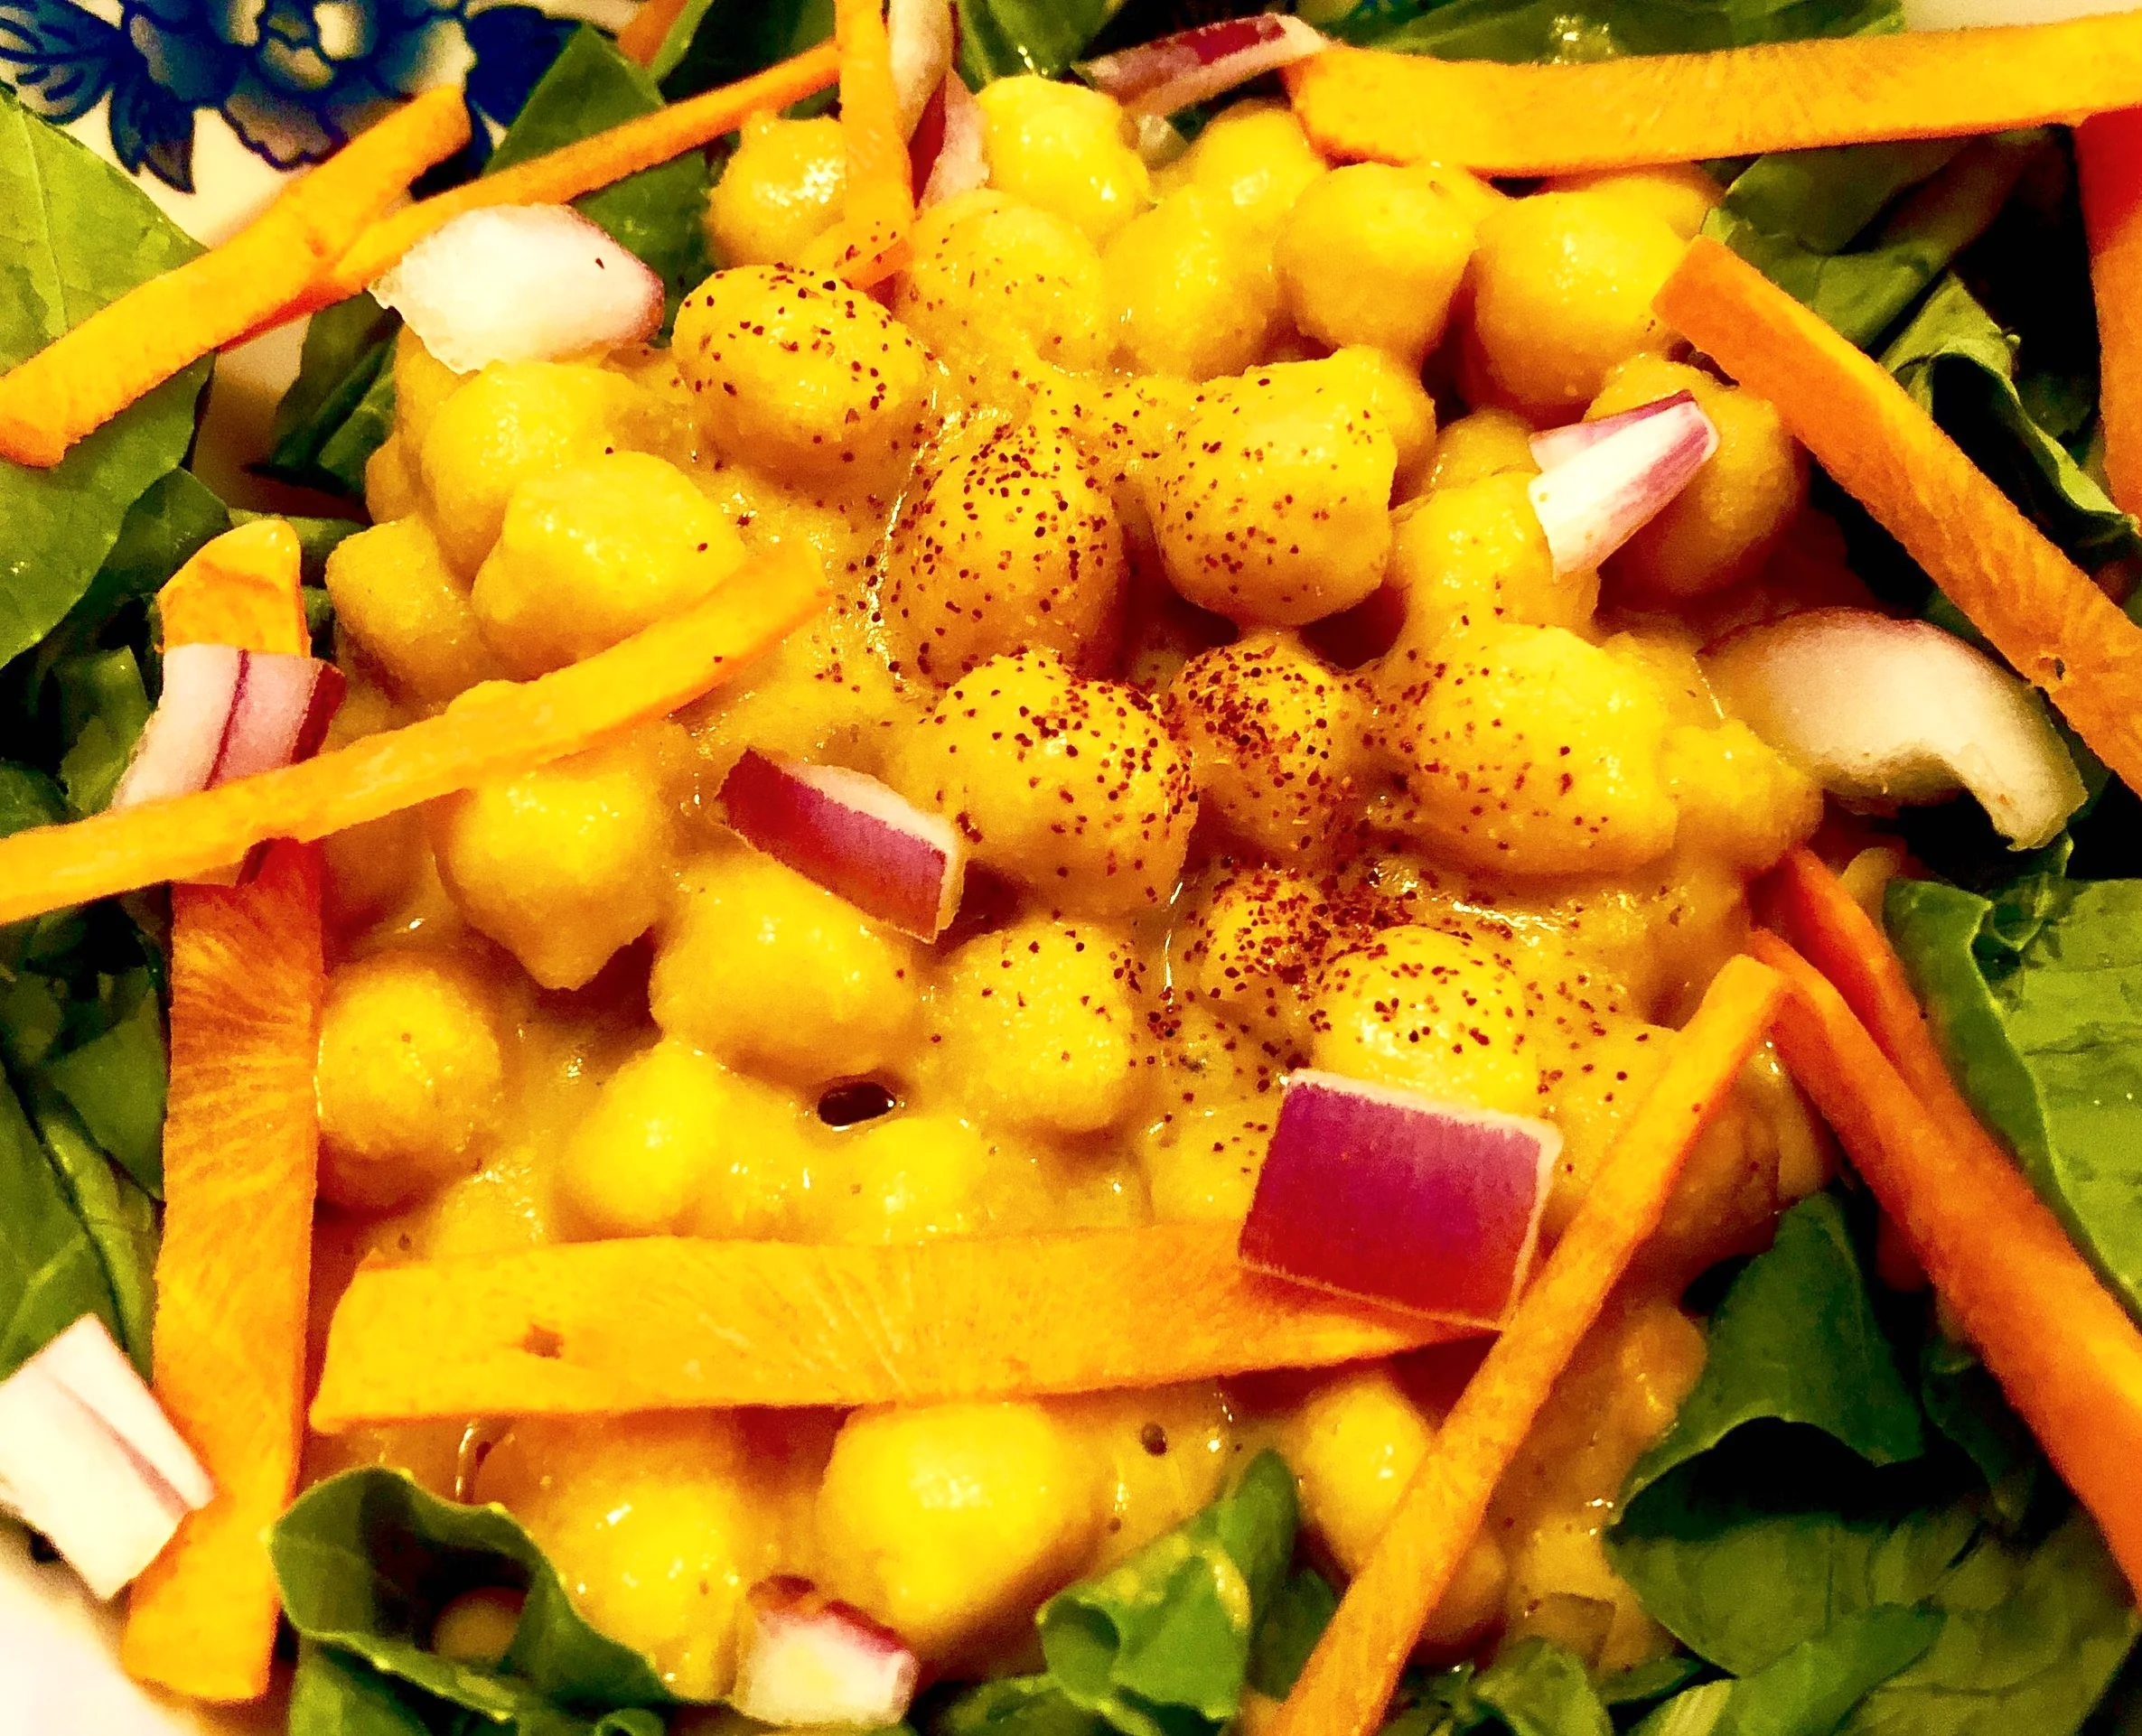
From Thug Kitchen, I made Spiced Chickpeas and Tahini Dressing. I put them on top of millet that I cooked with some garlic, vegetable broth, onions, and spinach. The millet served as the base to my Buddha Bowl. I also added some pepper stir-fry with some fajita-like seasonings on top of the millet on one side and the chickpeas on the other then topped it with the dressing.

Spiced Chickpeas and Tahini Dressing
Photo credit: Alyssa DelSoldato
The dressing was absolutely delicious and I’m pretty sure I’m going to make a tub of it to keep on hand for everyday use. I also made their Roasted Potato Salad with Fresh Herbs to go alongside a Lentil “Meatloaf” that I found on Pinterest. While the meatloaf tasted good, it was not anything like a meatloaf— It tasted like stuffing, though, and probably would be great for Thanksgiving.
Engine 2
From Engine 2, I made Cheezy Chickpeas... Oh. My. God. Considering there was no actual cheese in this, it was AWESOME. It totally hit the spot and I think this is going to be a regular meal in my house from now on. In fact, I loved the cheese sauce so much that I took some aquafaba (liquid from a can of beans) that I had saved in the fridge and made an extra batch of it to put on top of everything. I also used the leftovers (I’m surprised I had to willpower not to eat the entire can of chickpeas!) to create a pasta dish that consisted of the chickpeas and “cheese” sauce, small pasta shells, and spinach. It wasn’t hard to transform these!
Cheezy Chickpeas
Photo credit: Alyssa DelSoldato
The best part about the Cheezy Chickpeas is that it takes about 5 minutes to make and has minimal ingredients in it. This recipe uses nutritional yeast, which you may have heard referred to as “Nooch”. I like to think of Nooch as the cheesy powder that you might put on popcorn. It’s loaded with vitamins including B12 and has 8 grams of protein for just 2 tablespoons!
I found Nooch in my grocery store near the different kinds of flours. There’s usually a section that has healthy alternatives. If you can’t find it there, there’s always Amazon, which is where I bought my first batch.
Vegan Under Pressure
I used Vegan Under Pressure (VUP) a lot this week, and this cookbook has quickly become my new favorite. I use it 2-3 times a week at this point. It was a little difficult to get into it since there are so few pictures, but I made a list of recipes that sounded interesting and I’m going through them one by one. We have not been disappointed one bit yet.
Everything is packed with flavor and the cooking times are very precise, especially for use with a pressure cooker. This week I made “Baked” Beans, Sloppy Jills, and Kamut Salad with a Kick. I also used the reference charts in this book to help me figure out how long to cook my barley breakfast and black bean dip.
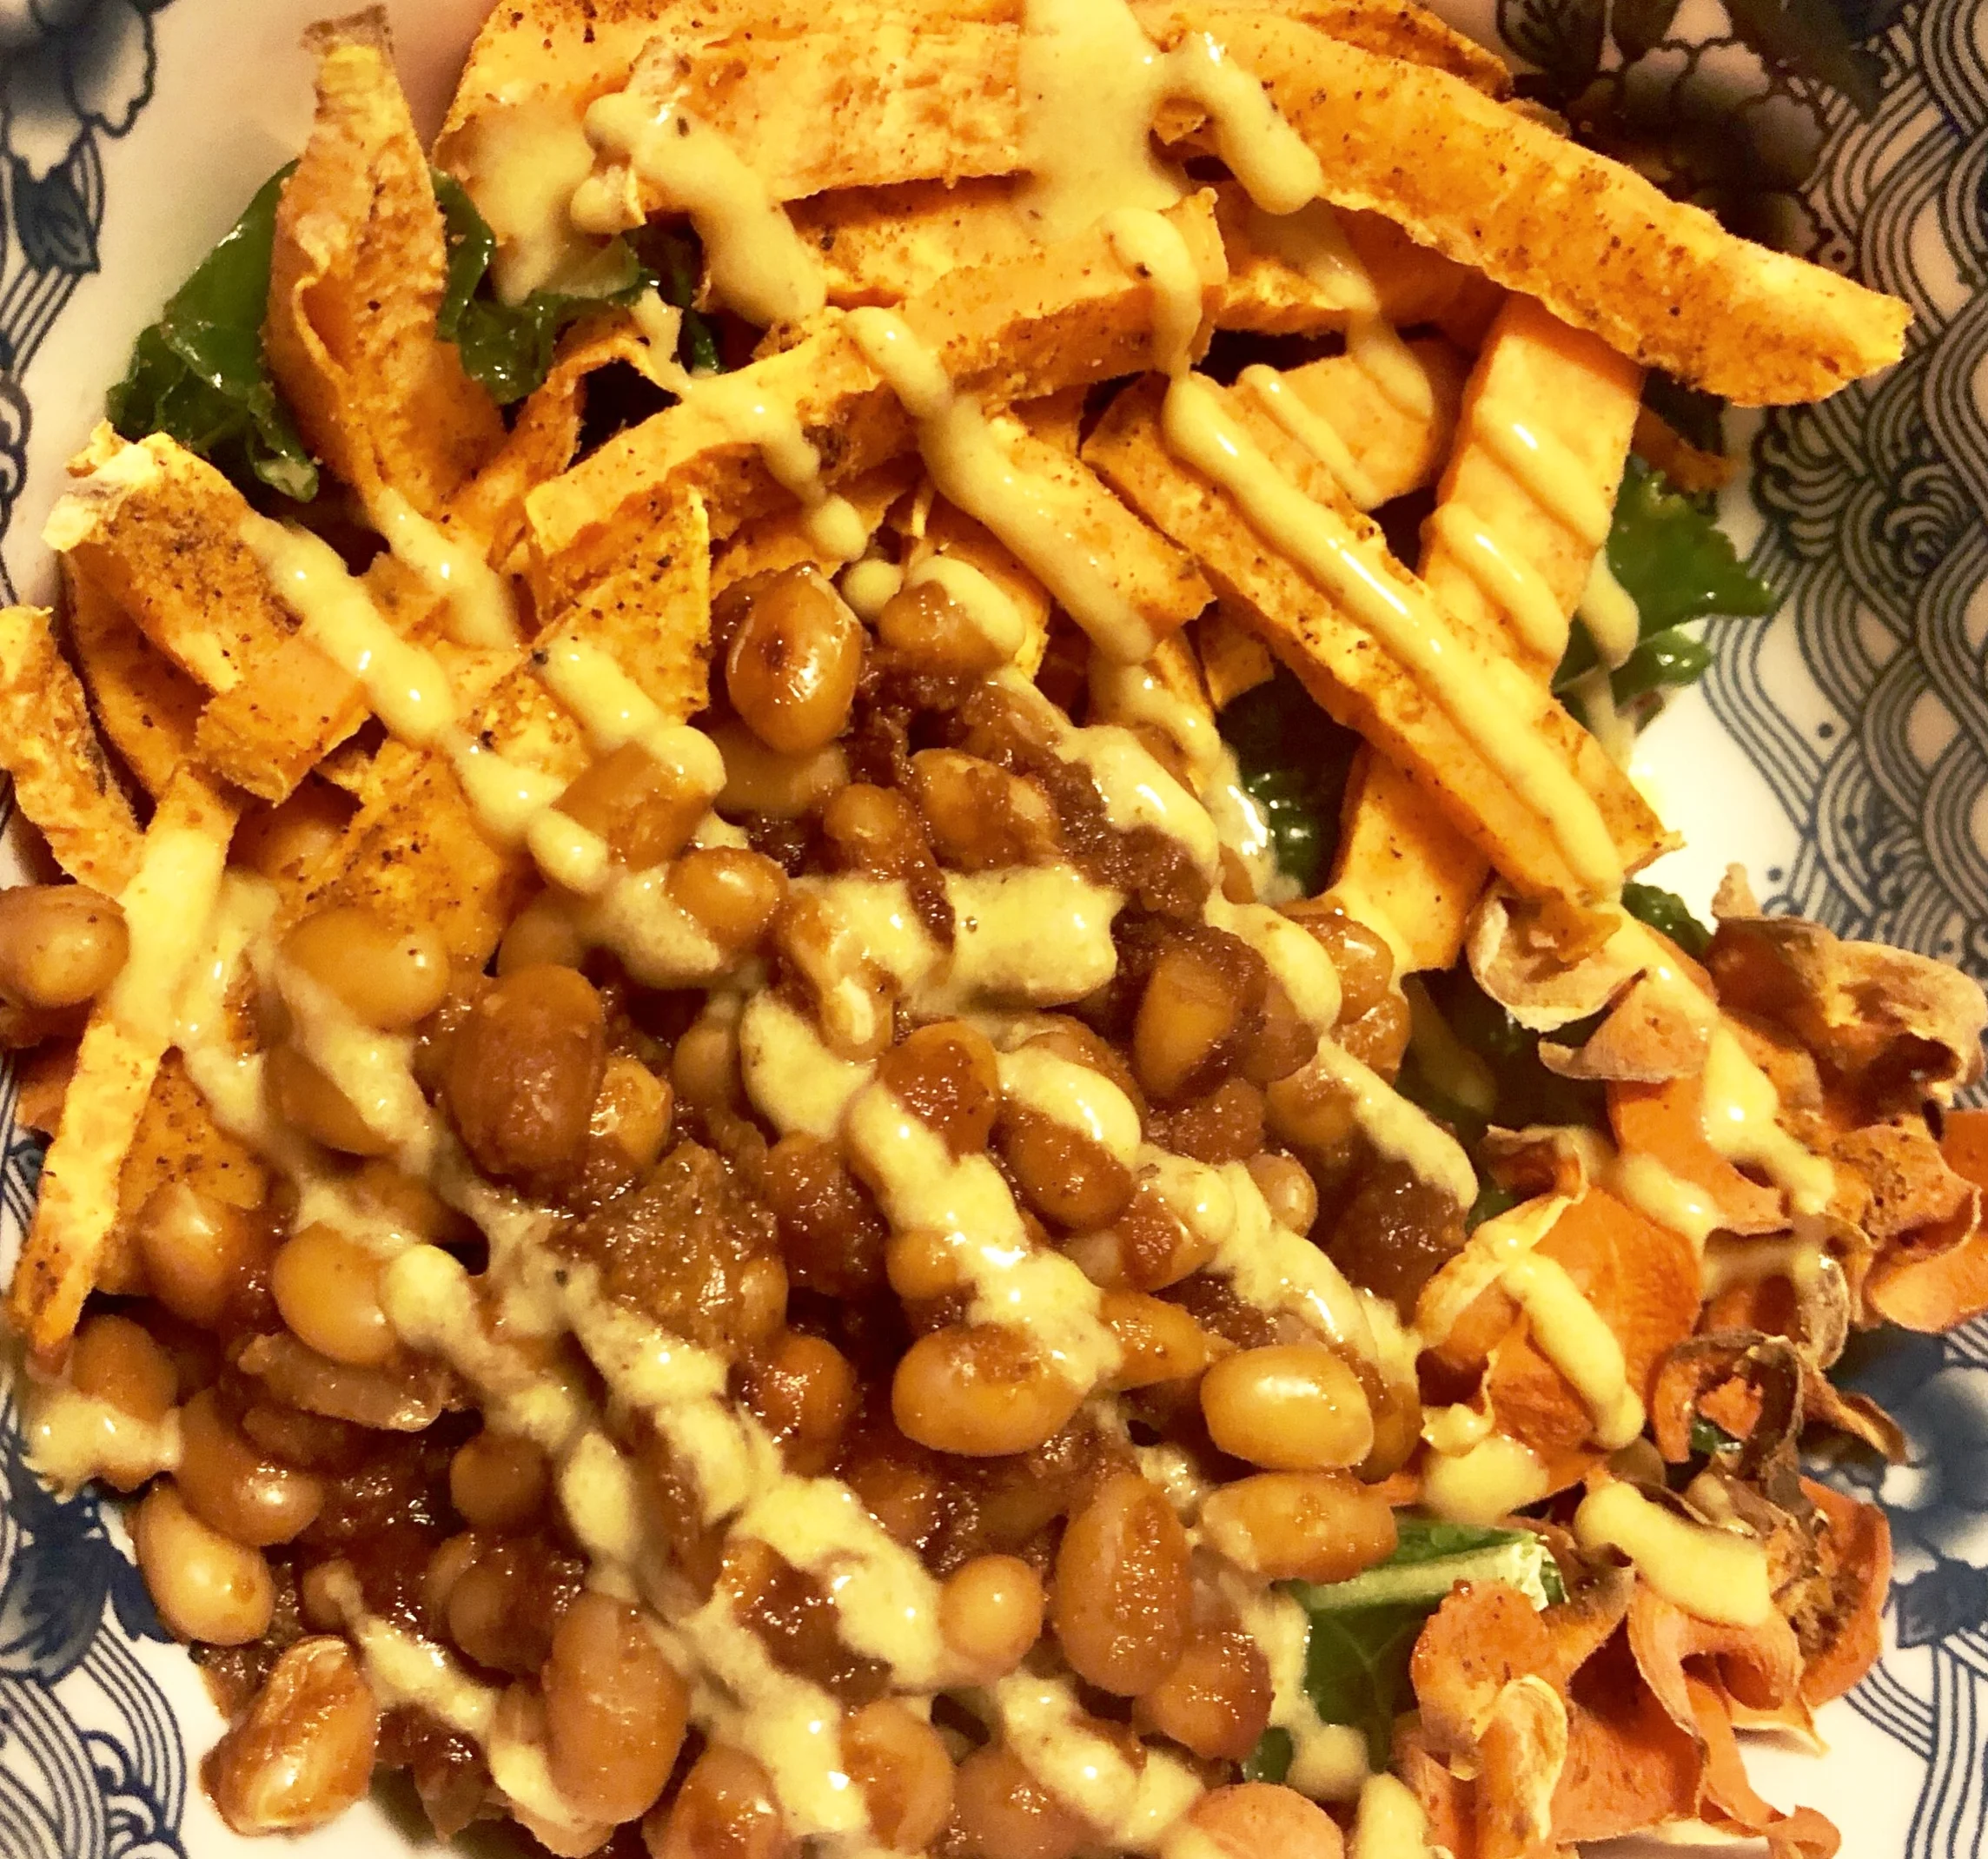
Baked Beans
Photo credit: Alyssa DelSoldato
The “Baked” Beans were unreal! They were so comforting and had a ton of flavor. I imagined all the different ways that I could use these: as a topping to a burger or sandwich, as a side on its own, on top of a salad, in a burrito, or even have it for breakfast. That’s right, I think I’m going to start eating bean dishes for breakfast. If they taste this good, why would you want to wait until lunch or dinner to eat them?
A Sloppy Jill is similar to a Sloppy Joe, except it’s made without meat. I even ate the Sloppy Jill filling for breakfast one day this week, and I wasn’t even hungry by the time lunch rolled around because it was so filling. You could totally use this filling in the same ways I mentioned thinking about with the “Baked” Beans.

Sloppy Jill
Photo credit: Alyssa DelSoldato
Kamut was something I purchased a while ago because I saw it come up a few times in this cookbook, and I felt like being adventurous. I had no idea what it was and I actually had to Google it to find out that Kamut is a grain. It looks like large grains of rice and can be used similarly in your dishes. It has a somewhat chewy texture and a slight pop when you bite into it. It is loaded with fiber and has a good amount of protein and other nutrients.
After sitting in my cabinet for a month unused, I decided this week would be the week I would test Kamut out. I made the Kamut Salad with a Kick from VUP at the end of the week. My husband was flying home and loves spicy foods, so I thought this would be the perfect dinner to make for his arrival.
The thing that makes Kamut so tricky is that you have to remember to soak it in advance. I wanted to make this meal several times this week, or at least just cook some Kamut to see what it was like, but kept forgetting about the soaking factor. It needs to soak overnight, so if you’re planning on making some, keep that in mind— that was really the most difficult thing about using Kamut.
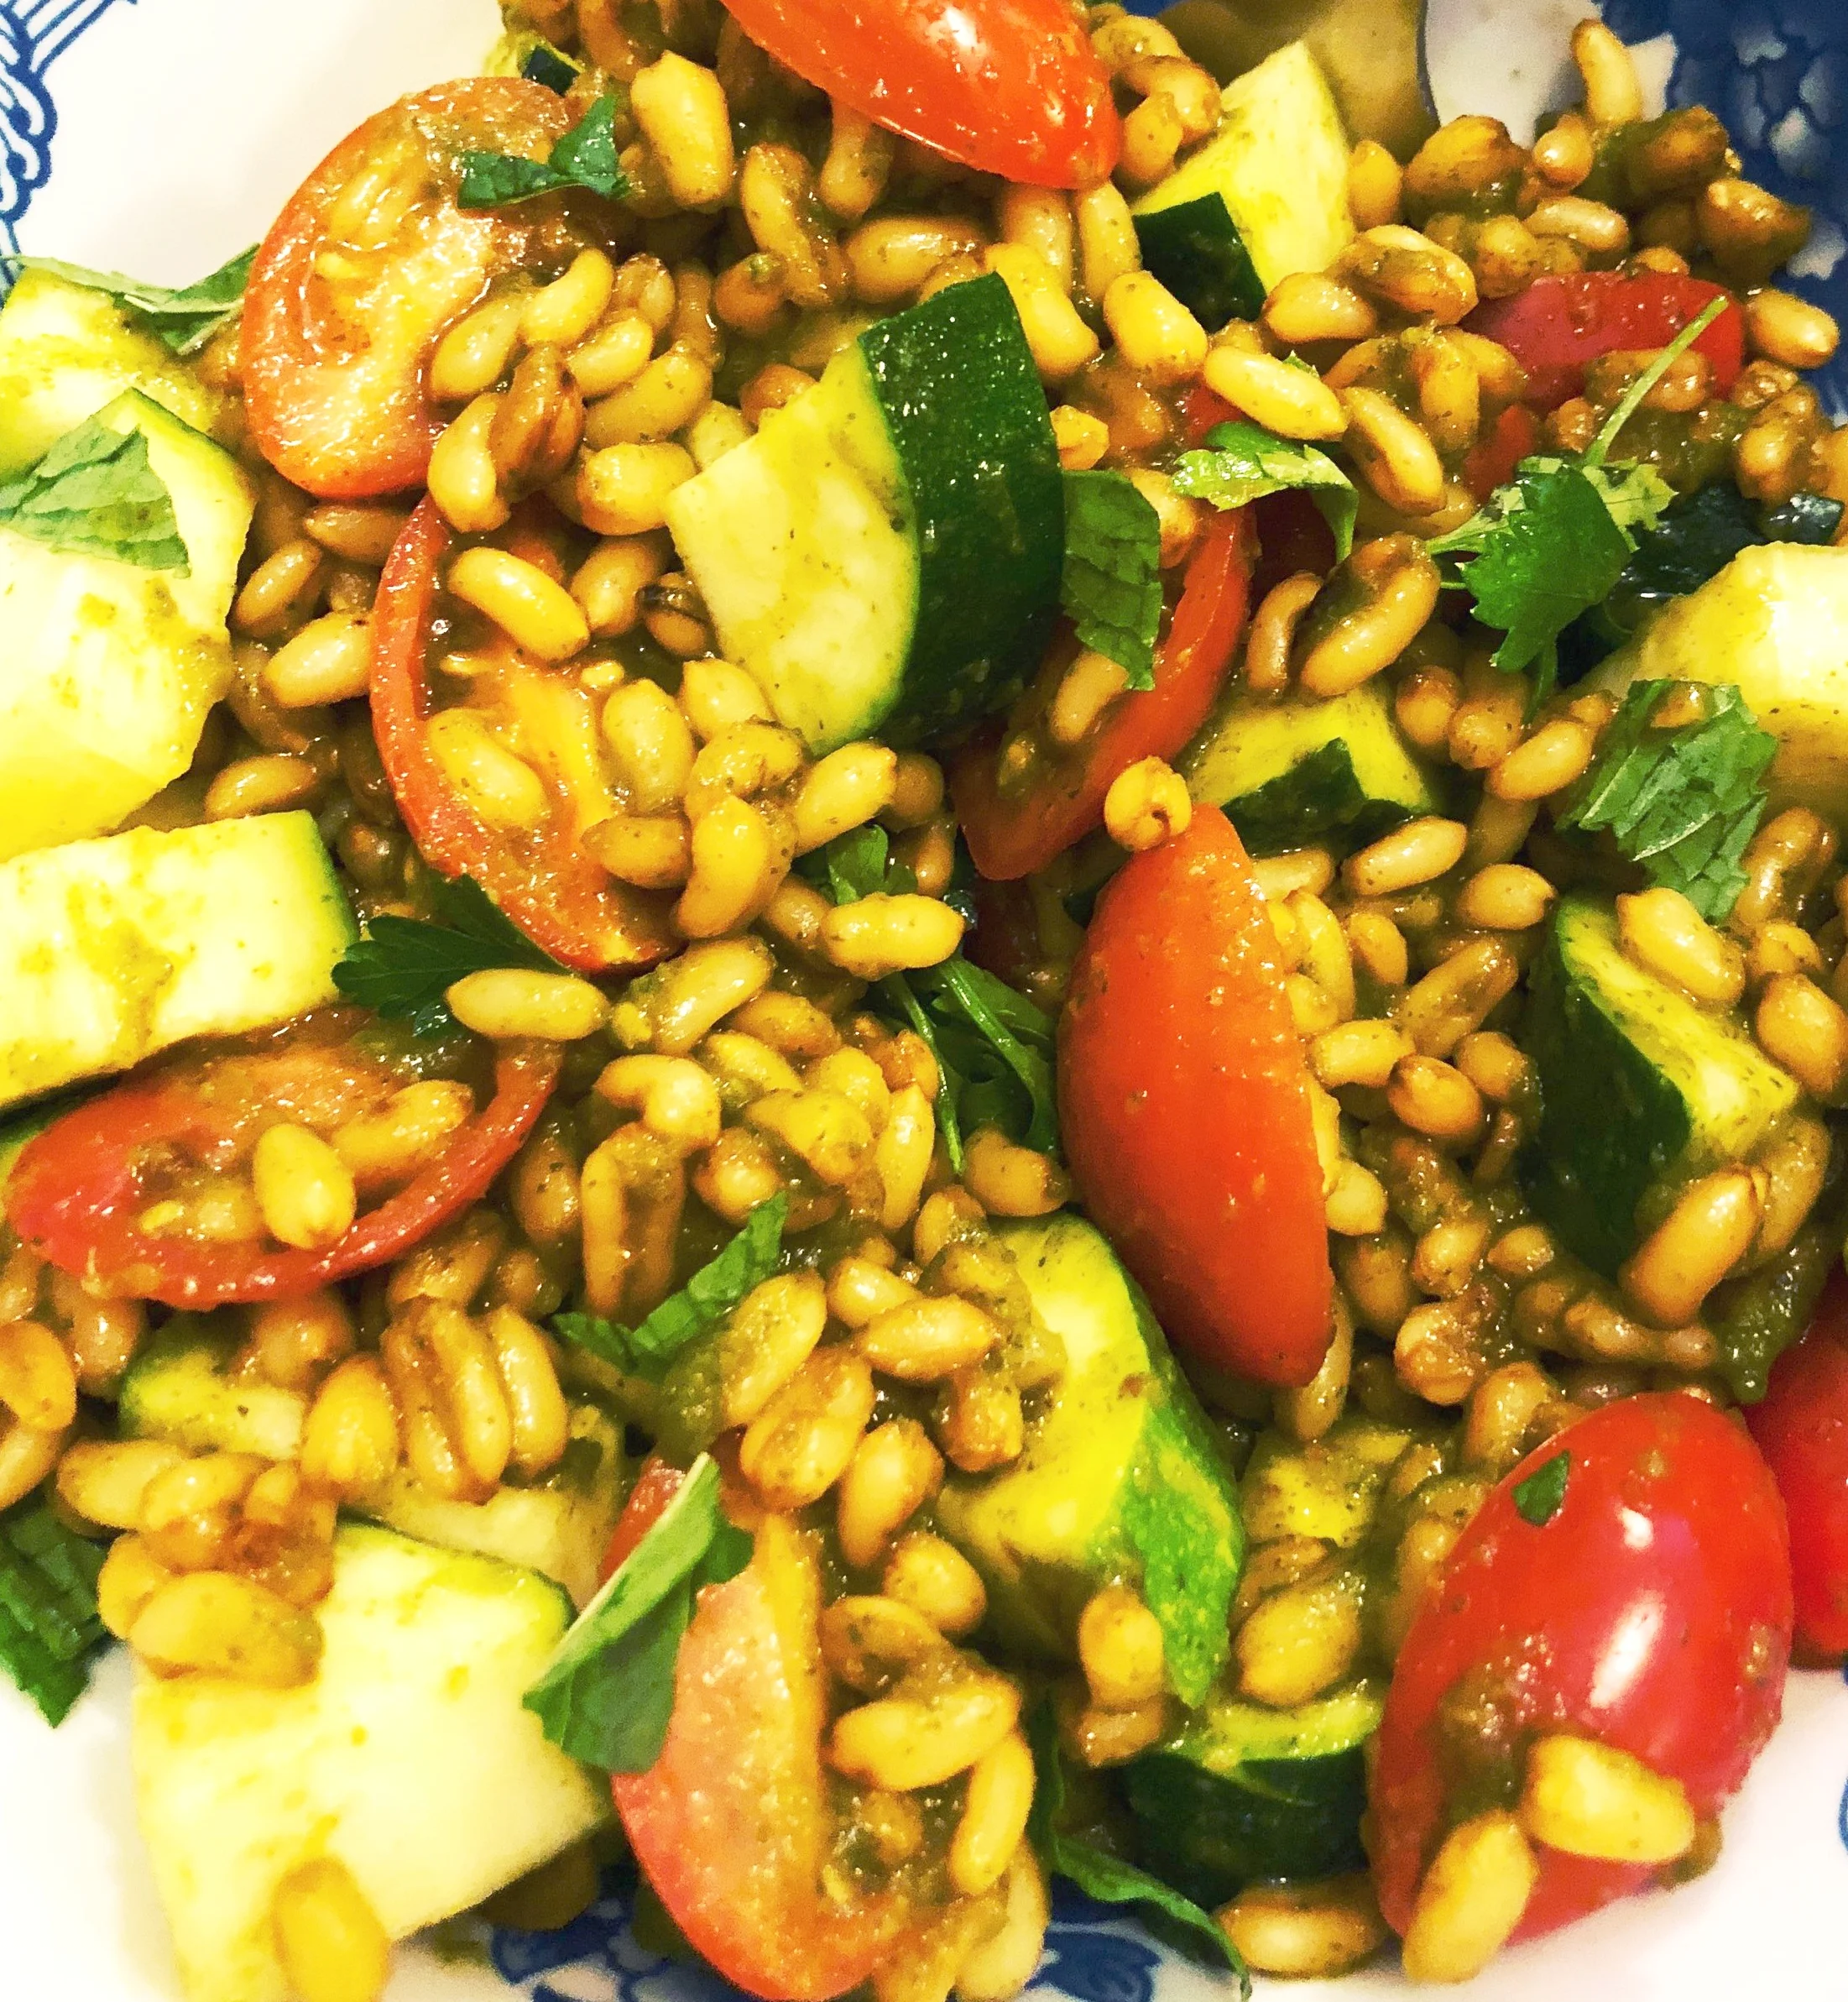
Kamut with a Kick
Photo credit: Alyssa DelSoldato
I made the Kamut in my Instant Pot and while I waited for it to cook, I diced zucchini and grape tomatoes and threw them in a bowl. I also made a dressing for the salad out of mint, Serrano peppers, cilantro, lemon, lemon zest, scallions, and soaked dates. This meal took minimal effort and the most expensive component was the tomatoes.
Now, time for some recipes!
Recipes
*Disclaimer: If you are using an Instant Pot, be VERY careful using your pressure release valve— you can easily burn yourself if you aren’t careful. Read the directions carefully and thoroughly, and use the appliance at your own risk.
Black Bean Dip (makes about 5 cups)
*This was made in an instant pot with dried beans, but can easily be made on a stove top, or by using canned beans instead.
Ingredients

Black Bean Dip
Photo credit: Alyssa DelSoldato
1 1/2 cups dried black beans
2 cups frozen diced onions, or 1 medium sized onion, diced
4 cloves of garlic, minced
1 poblano pepper, seeded and diced
1/4-1/2 cup pickled jalapeno slices, diced
1 14oz. can of diced tomatoes with chilies, drained
1 3/4 cup vegetable broth
1 lime, juiced
1 tbsp cumin
2 tsp paprika
1 tbsp chili powder
1/2 tsp ground coriander
1 tsp Trader Joe’s Chili Lime Seasoning
A few splashes of chipotle hot sauce
Chipotle black pepper to taste
Red pepper flakes to taste
Salt to taste
Additional Toppings (optional)
Diced red onion
Diced peppers
Sliced avocado
Cheese
Pico de gallo
Hot sauce
Directions
1. Press the sauté function on the Instant Pot.
2. Add onion, garlic, jalapeno, and half the poblano, and sauté until veggies start to look soft.
3. Add the spices and mix to coat all of the veggies.
4. Add the beans, diced tomatoes, broth, and lime juice, then mix to make sure the beans are totally covered.
5. Put the lid on and lock it into place, making sure the pressure valve is CLOSED. You can press the bean button and cook for 30 minutes, or press manual and cook for 30 minutes on high.
6. Let the pressure come down naturally. Always turn the pressure release valve to check that there is no extra pressure built up before opening. Open the lid AWAY from your body.
7. Add the chipotle hot sauce.
8. Use an immersion blender to turn the dip into the desired consistency. At this time, you can taste and add more seasonings or sauce to get the flavor you’re looking for. Top with the remaining poblano and any other additional toppings you prefer.
Banana Baked French Toast (serves 1)

Banana Bread French Toast
Photo credit: Alyssa DelSoldato
1 banana
1/4 cup of your favorite milk
2 tbsp nut/seed butter (I used Sun Butter)
1/4 cup quick cooking oats
1 slice of bread (the thicker the slice, the better)
1 tsp of your favorite liquid sweetener (I went for maple syrup)
1/2 tsp cinnamon
1/2 tsp vanilla extract
Directions
1. Preheat the oven to 375 degrees Fahrenheit.
2. Spray a small oven-safe mug or dish with oil.
3. Mash half of the banana in a bowl, then mix together with the milk, nut butter, sweetener, cinnamon, and vanilla until fully combined.
4. Cube the bread and add it to the banana and milk mixture, mixing to ensure that all of the bread absorbs the liquid.
5. Add the oats and mix again.
6. Transfer to your oven-safe mug/dish and bake uncovered for 20 minutes, or until liquid is gone. (Depending on what kind of bread you use, you may need more liquid. This would most likely apply to thicker slices of bread. If you’re using a regular slice of bread, start with a little less milk and you can always add more. If you use too much, not to worry, you can just bake it a little longer.)
7. While baking, slice up the rest of the banana and use to top on your finished product.
Apple Pie Breakfast Barley (serves 4)
*This recipe uses the Instant Pot but can easily be made on the stove. It will take much longer to make though, so plan ahead!
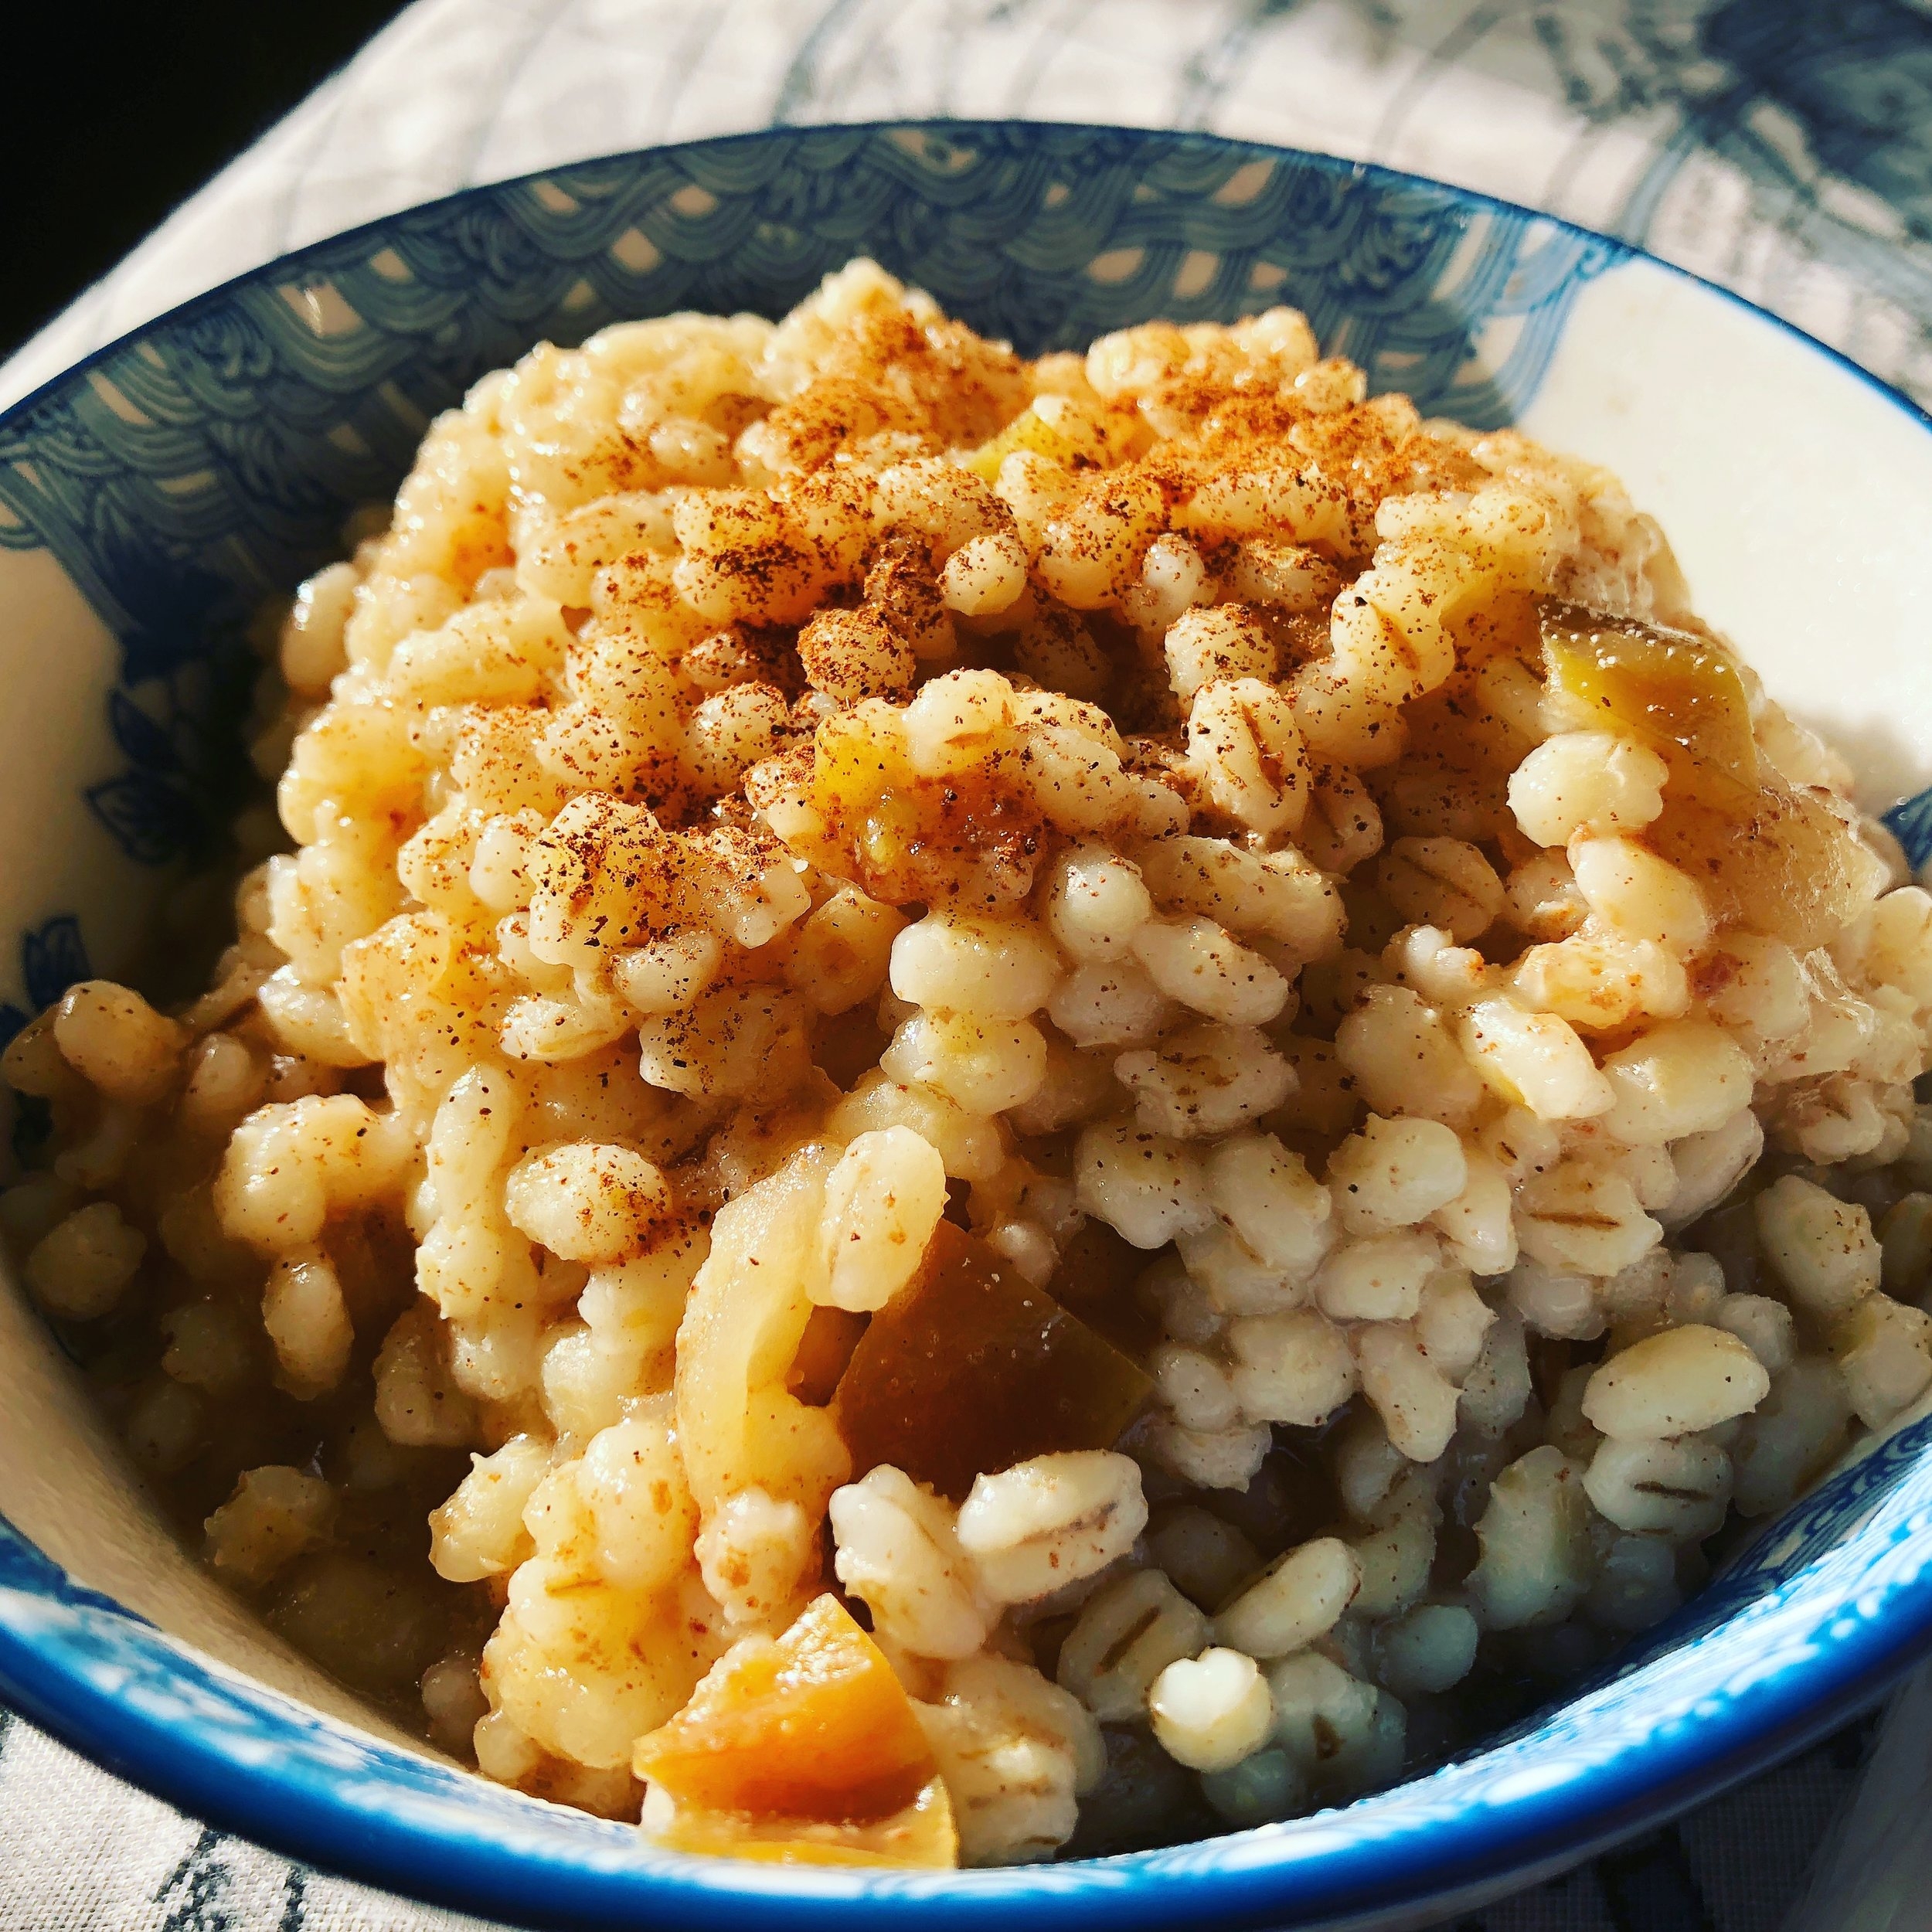
Apple Pie Breakfast Barley
Photo credit: Alyssa DelSoldato
Ingredients
1 cup barley
2 cups water
1 cup of your favorite milk
1 tbsp apple pie spice
1 tbsp brown sugar, packed
2 apples, diced
Directions
1. Put the barley, water, milk, spice, half the diced apple, and brown sugar into the Instant pot and stir, then close the lid and lock it in place. Make sure the pressure release valve is closed. Press manual and set for 20 minutes. Let the pressure come down naturally.
2. Once the pressure is down, turn the pressure release valve to ensure any extra steam has been released. Open the lid AWAY from your body.
3. Add the diced apples and put the lid back on for 5 minutes (if you want your apples to be crunchy you can skip putting the lid back on).
4. Open the lid and serve, adding a splash of milk or topping with additional cinnamon or apple pie spice.
It’s no wonder junk food can be so appealing— it’s often more affordable than produce. This week I noticed that store-brand ice cream was on sale, $4 for two half-gallon containers, which was the same price as those ridiculous tomatoes. Would I rather have the ice cream? Probably, but the ice cream wouldn’t keep me full, I’d probably make myself sick from binge eating it, and I’d feel terrible the day after eating it from all of the added sugars and such.
I made all of these meals with just $40, and I still have leftovers from some of the meals to carry me into the following week or freeze. A lot of the meal components that I chose to make could be reinvented easily or I was able to mix-and-match different meal components to make it something totally different. It IS possible to eat healthy on a tight budget. $40 made more than enough for us to get through the week and into the next. I think this new grocery budget is going to be a good thing for me.
How about you? Join the “Chef” Orky’s Kitchen Facebook page for more updates and ideas, and share your comments at the bottom of the page.
Whatismyhealth © 2018