
Dumpling Date Night
/Looking for an idea for date night? My husband Josh and I recently received a gift card to a cooking class company. We had our choice of classes and settled on a Chinese dumpling making class, since it seemed like something that I would probably make again.
We arrived at the Hilton in Manhattan for our class. Each table had everything we needed to make our meal, chicken dumplings and vegan dumplings. The tables were set up so that you would have to work and socialize with the other people at your table.
We learned about 3 or 4 different dumpling shapes for the square dumpling skins and the round ones, and each shape had its own name. After making each shape, we were given free time to explore and make our own shapes. I even found a new favorite shape to make, “The Fish” (description in “Method 2” directions below).
Once we got home, I decided I would make my own vegan dumpling. We’ve now made dumplings twice since our class and my husband can’t get enough of them. I’ve also shared with coworkers and have gotten a lot of positive feedback! Check out my ultimate vegan dumpling recipe below!
Spicy Sweet Potato & Tofu Dumplings (makes about 80 dumplings)
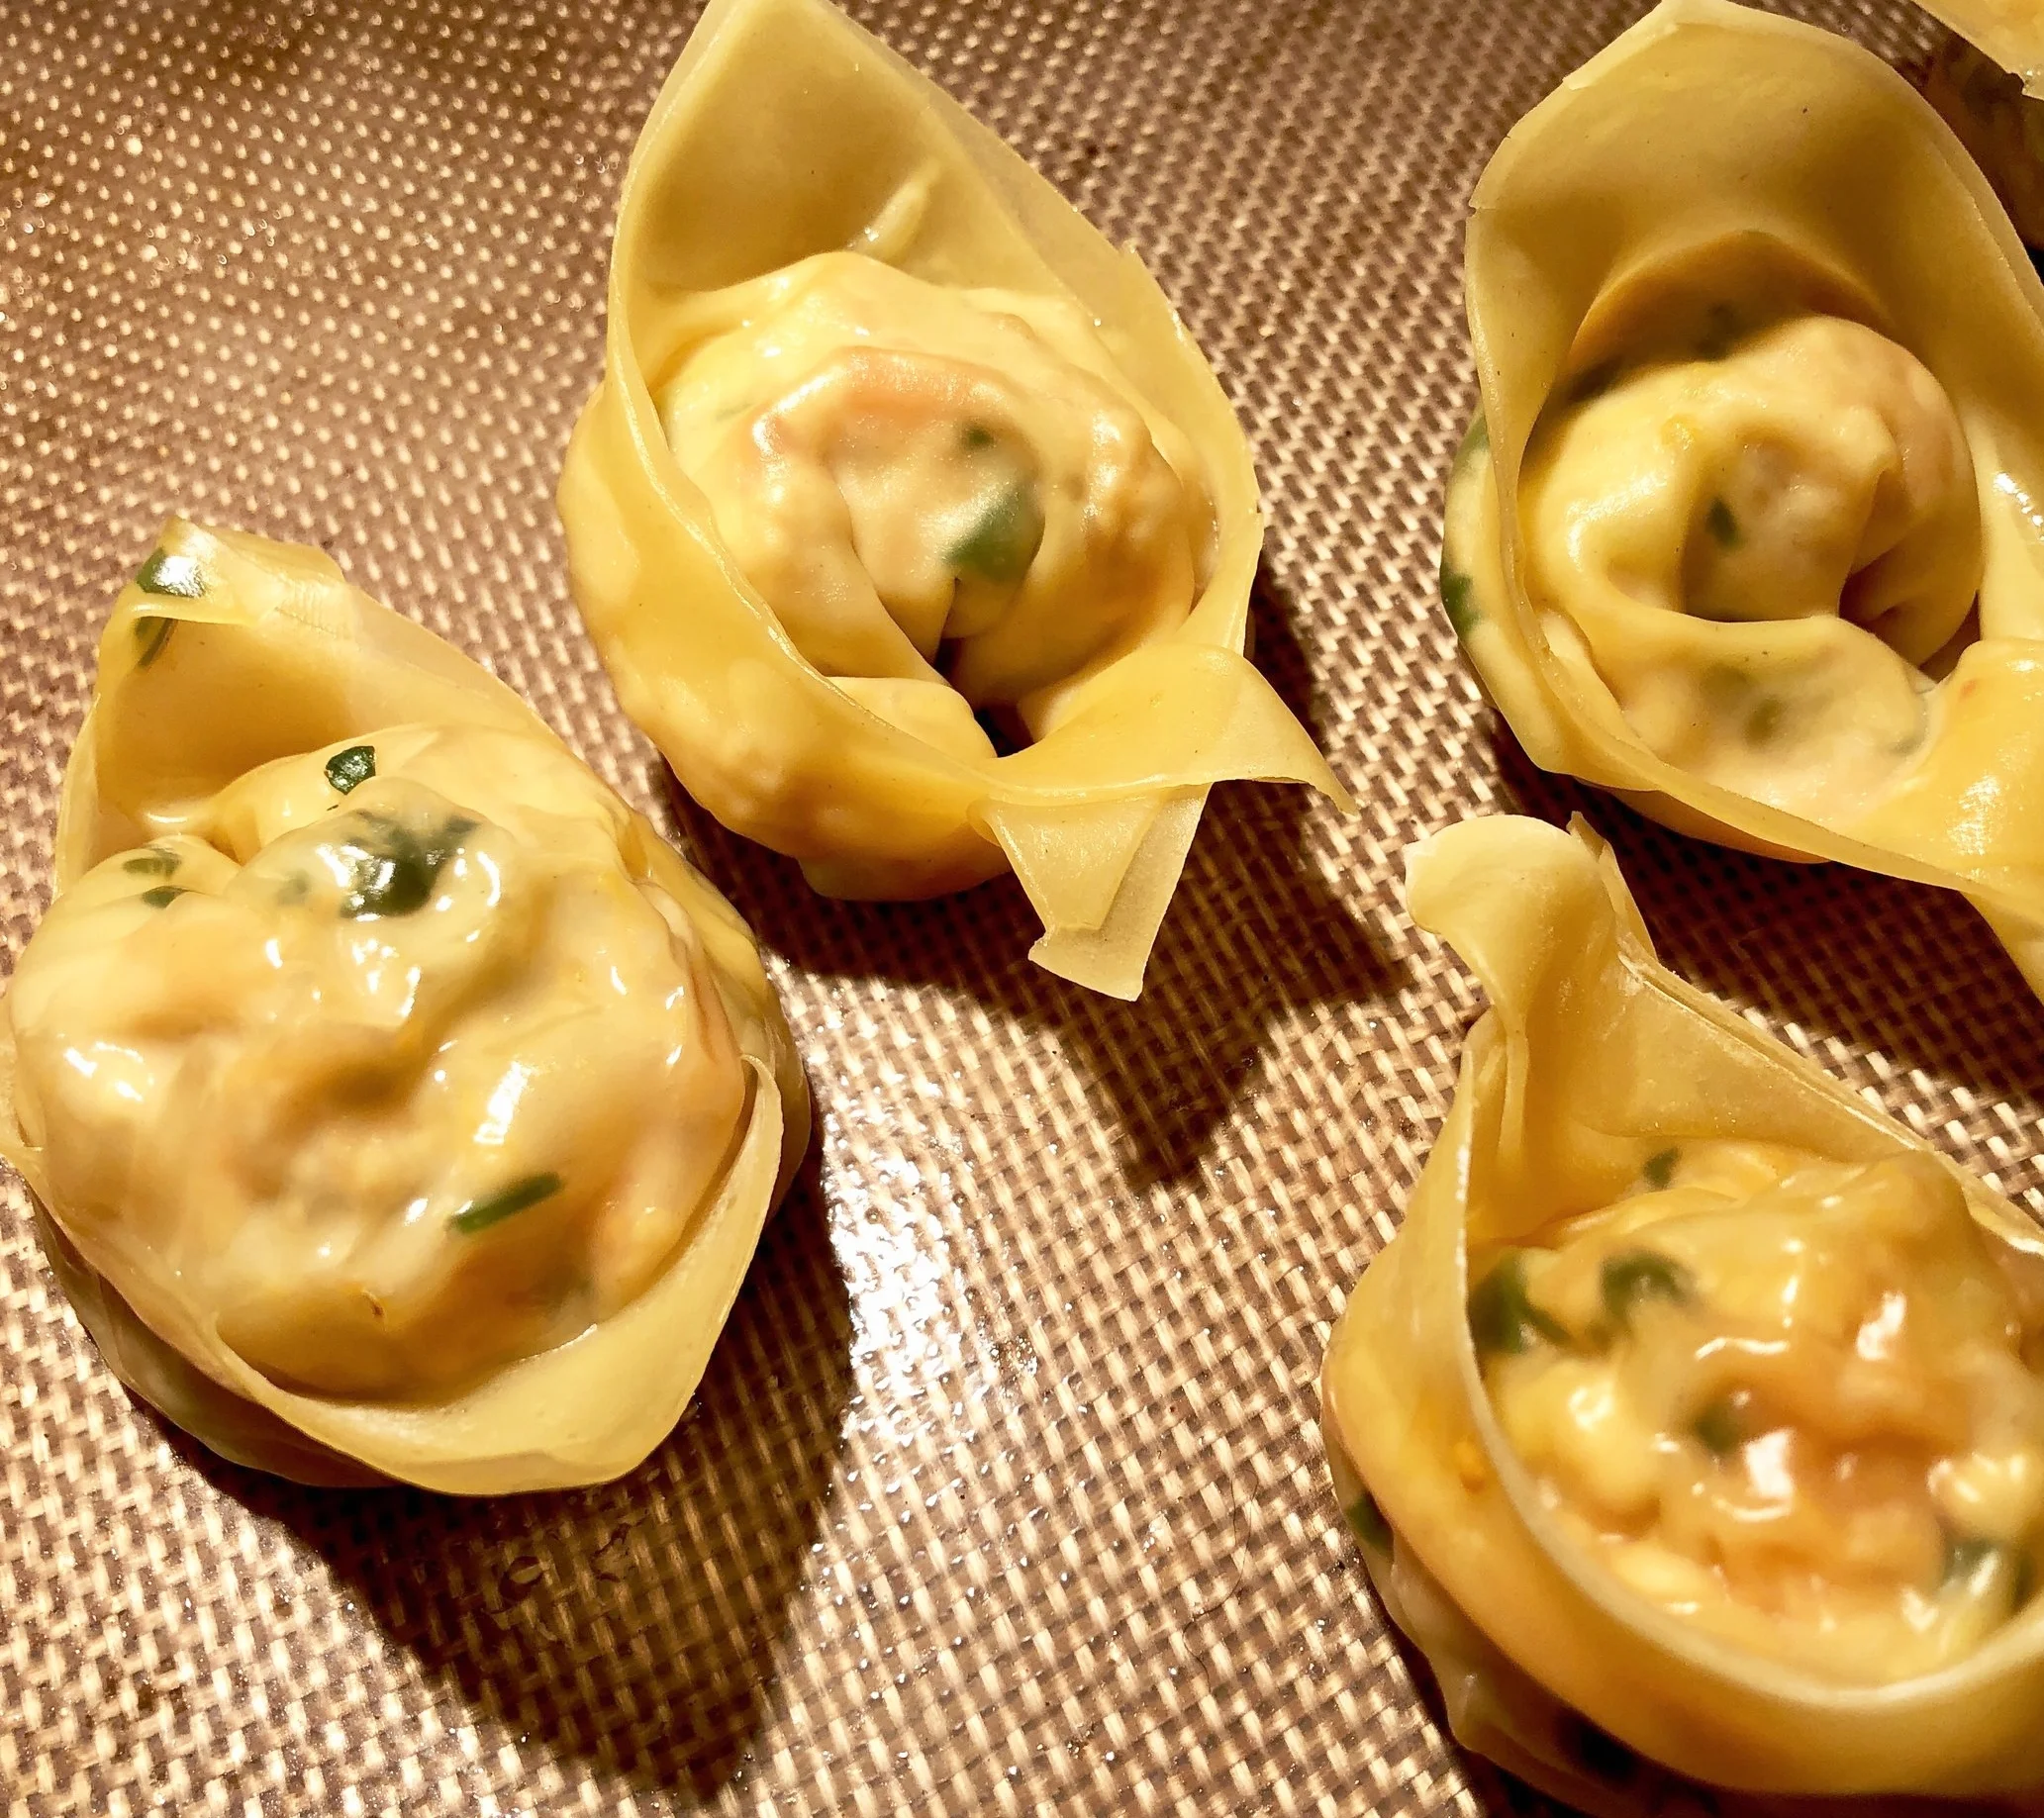
Photo credit: Alyssa DelSoldato
Ingredients
1 pack of either square or round dumpling wrappers
1 medium sweet potato
1 pack of firm tofu, drained
2-3 spoonfuls of Chili Garlic Paste (depending on how spicy you’d like them)
3 spoonfuls of minced ginger
1 bag of coleslaw mix
1 bunch of scallions minced (including the white parts)
1/2 cup cilantro
1 tbsp sesame oil
3 tbsp Bragg’s liquid aminos OR soy sauce
Directions
1) Drain the tofu and wrap it in paper towels or a clean dish rag, then put it on a plate and with another plate on top of it to help press any liquid out.
2) Rinse the potato and poke it several times with a fork, then microwave it for 4 minutes. If it isn’t tender after 4 minutes, add another minute at a time.
3) After the potato cools, peel the skin off and mash it in a bowl.
4) Add the tofu to the bowl and crumble it with your hands.
5) Add the other ingredients and mix well.
Now you’re ready to put the dumplings together!
Set up a small bowl of water and a surface to work on. You will also need a dish to put your finished dumplings on. After you fill the plate, you can set those dumplings up to steam. I used my instant pot (1 cup of water, steam button, 5 minutes, quick release). You can also set up a pot of shallow water with a steam tray and steam for 2-3 minutes on each side.
Unfortunately, I don’t remember the name of many of these shapes, so I’ll name them based on what they remind me of:
Square Wrappers
Method 1 (“Tortellini” Shape)

1) Take a non-heaping spoonful of filling and put it in the center of the wrapper.
2) Dip your fingers in the water dish and wet the edges of the wrapper.
3) Fold the wrapper diagonally to make a triangle.
4) Pick up your triangle and put your finger on the edge that has all of the filling to make a dimple that will help make it easier to manipulate.
5) Take two of the corners on either side of the dimple you just made and cross them, then add some water to the corners before trying to stick them together.
6) Pinch the corners together. You’ve made your first shape! Not quite tortellini, but not too far off either!
Method 2 (“The Fish”)

1) Take a non-heaping spoonful of filling and put it in the center of the wrapper.
2) Dip your fingers in the water dish and wet the edges of the wrapper.
3) Fold the wrapper diagonally to make a triangle.
4) Roll the side with the filling over one time.
5) Wet the corners with your fingertips.
6) Bring the wet corners together, cross them, and pinch together. Your fish is complete!
Method 3
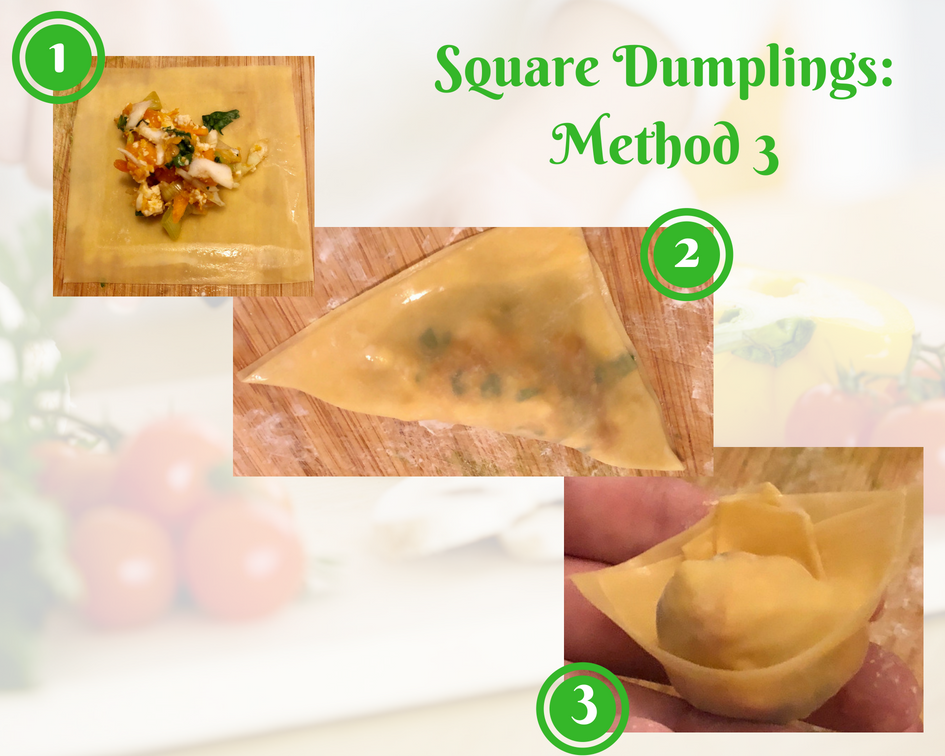
1) Take a non-heaping spoonful of filling and put it in the center of the wrapper.
2) Dip your fingers in the water dish and wet the edges of the wrapper.
3) Fold the wrapper across to make a rectangle.
4) Bring the two corners from the edge that has the filling together.
5) Wet the corners, cross them and pinch together.
Round Wrappers

1) Take a non-heaping spoonful of filling and put it in the center of the wrapper.
2) Dip your fingers in the water dish and wet the edges of the wrapper.
2) Fold the wrapper in half to look like a pierogie or empanada. You can leave it like this and steam if you want, or continue to make a different shape.
3) Bring the two points together, wet the corners, and pinch. This shape is really quick and easy to make and took the least amount of time to make.
Overall, I would call the experience a success. We had a great time and we learned some valuable skills when it comes to making dumplings. These dumplings are going to be added to our list of new go-to meals, and my husband can them make on his own if he doesn’t feel like cooking something more complex.
In my experience, I’ve found it is best to buy the dumpling wrappers and make the entire pack in one sitting. You can always freeze whatever you don’t eat after steaming them. The second time I made them, I made the filling the night before to cut down on prep time.
There were a few things about the class that could have been better. For example, the recipes from this class were OK, but the class inspired me to make my own dumpling recipe and find some new shapes to make. We were slightly disappointed by the way it was run— most of the ingredients were already prepared for us instead of us preparing them as part of the class. The instructor was knowledgeable, but she just yelled out 5 steps all at once on how to make the filling, and while I felt comfortable making these shapes during the class, we weren’t provided with any recipe cards or anything that showed us how to make each shape after leaving the class. Personally, I would have preferred to have a recipe card at each table instead, and I wound up having to look on Pinterest afterwards to find how to make these shapes again.
I think the most important part of this class was learning how to make the different dumpling shapes. The best thing for us was the time we were given to explore. Josh and I had a blast making these different shapes and while we both made a ton of mistakes, but also had a lot of success. We made whatever shapes we felt comfortable making, and you can, too!
What shapes will you try making your dumplings into?
What different fillings will you experiment with?
Share your comments at the bottom of the page.
Whatismyhealth © 2018


Craving salty, crunchy snacks but don’t want chips? A quick grab-and-go breakfast? Seed Bark is the answer!