
Discovering My Heritage Through Cooking: Part 1
/Poland

The national flag of Poland.
The United States of America is known as a melting pot for a reason. On any day, at any time, I can get whatever type of food I want- Thai, German, Irish, Peruvian- you name it (especially in New York), you can get it.
Our country was once a country that celebrated our different cultures and was proud that we were made up of so many different backgrounds. Lately, it feels as though there is much more of a divide between cultural groups that I just can’t wrap my mind around. As far as I see it, what’s cooler than learning about other cultures?
I think it’s important in today’s tough cultural climate to embrace the cultures around us and celebrate our differences. With this being said, my coworkers and I decided to implement a project for our students to learn about their own cultures and backgrounds and share them with the class.
This project was very similar to a project that I completed when I was a fifth grader when we had to create a family tree, write about our ancestors, how and why they came here, and how their life changed once they got here. We also brought in a small sample of a food from one of the countries in our ancestry. Being part Polish, I remember I insisted on bringing kielbasa, a spicy sausage from Poland.
By assigning my students this project, I have already begun to learn so many new things. I have learned about Egypt, Colombia, Pakistan, Bangladesh, The Dominican Republic, Ecuador, and more. My favorite part of this project has to be sampling their favorite foods from these countries, though. In my opinion, the best way to become interested in another culture is to try their food. I think there is a certain amount of love and pride that goes into each dish that makes it special for the people sharing it as well as the people trying it.
This project has inspired me to talk to my own family about my history. From what we’ve uncovered, I am Polish, Lithuanian, Irish, English, Dutch, Russian, and German. I’m getting an ancestry test for my birthday, so that might change things, but I’ve always known this to be my background growing up. As my grandpa got older and his mind started to go a bit, I remember him mentioning our ancestors. Grandpa was also known for making up some wild tales, such as he had a cow that lived in his backyard that produced chocolate milk. These conversations with my family about our history have really been interesting, to say the least.
For the longest time, I’ve wanted to travel to all of the countries of my ancestors. I thought that would be a really cool bucket list item, however, it’s really difficult to do when you have so many backgrounds, not to mention expensive. My alternative plan is to cook my way through my ancestry, starting with Poland.
I’ve always grown up with pierogis and kielbasa. Pierogis are what I consider to be the Polish version of ravioli. Instead of meat or cheese filling, you fill them with mashed potatoes and cheese. They’re the ultimate comfort food. Growing up, the pierogis we would usually have were store bought (when you have four kids nagging you at home, I’m sure the idea of making pierogis from scratch isn’t even an option). Either way, they were always good. My mother used to make them with sautéed onions, butter, and kielbasa.
Whenever I think of comfort food from childhood, I always think of this meal. I wanted to make my own, but was really afraid to make my own dough- that’s not really my style of cooking. I first decided to take the concept of pierogis and transform it into a pierogi casserole. This consisted of layers of mashed potatoes, cheese, kielbasa, and lasagna noodles. It definitely tasted like I was gaining 500 pounds as I was scarfing it down, but it’s so comforting that I really didn’t mind. The second time around, I decided to actually make pierogis from scratch. After seeing the “Worst Cooks in America” make pasta, I have a new level of confidence.
My pierogi recipe comes from the Epcot International Food & Wine Festival Cook Book: Passport to A World of Flavors. Of course, I’ve made some alterations where I could to make this a tad lighter, without changing the overall flavor. You can view the original recipe here, or try my lighter version below:
Kielbasa and Potato Pierogis with Caramelized Onions and Sour Cream (Serves 4- makes about 16 pierogis)
Kielbasa (I used turkey kielbasa and couldn’t tell the difference)
One onion sliced (Shortcut version: a cup of frozen diced onions)
Butter substitute (to sauté the pierogis in after boiling)
Pierogi Ingredients
Mashed Potato Filling:
1 pound of russet potatoes, peeled and quartered
1/3 cup cashew milk
2 tbsp butter substitute (I use I Can’t Believe It’s Not Butter 30% Vegetable Oil)
Salt and pepper to taste
1 cup 2% shredded cheddar cheese
*This mixture actually made enough for about 2 batches of pierogis so feel free to double the ingredients if needed.
Dough:
2 cups all-purpose flour
1 large egg, slightly beaten
1/4 tsp salt
1/2 cup cashew milk
For Serving (optional):
1/2 cup light sour cream
1/4 cup chives
To make the dough:
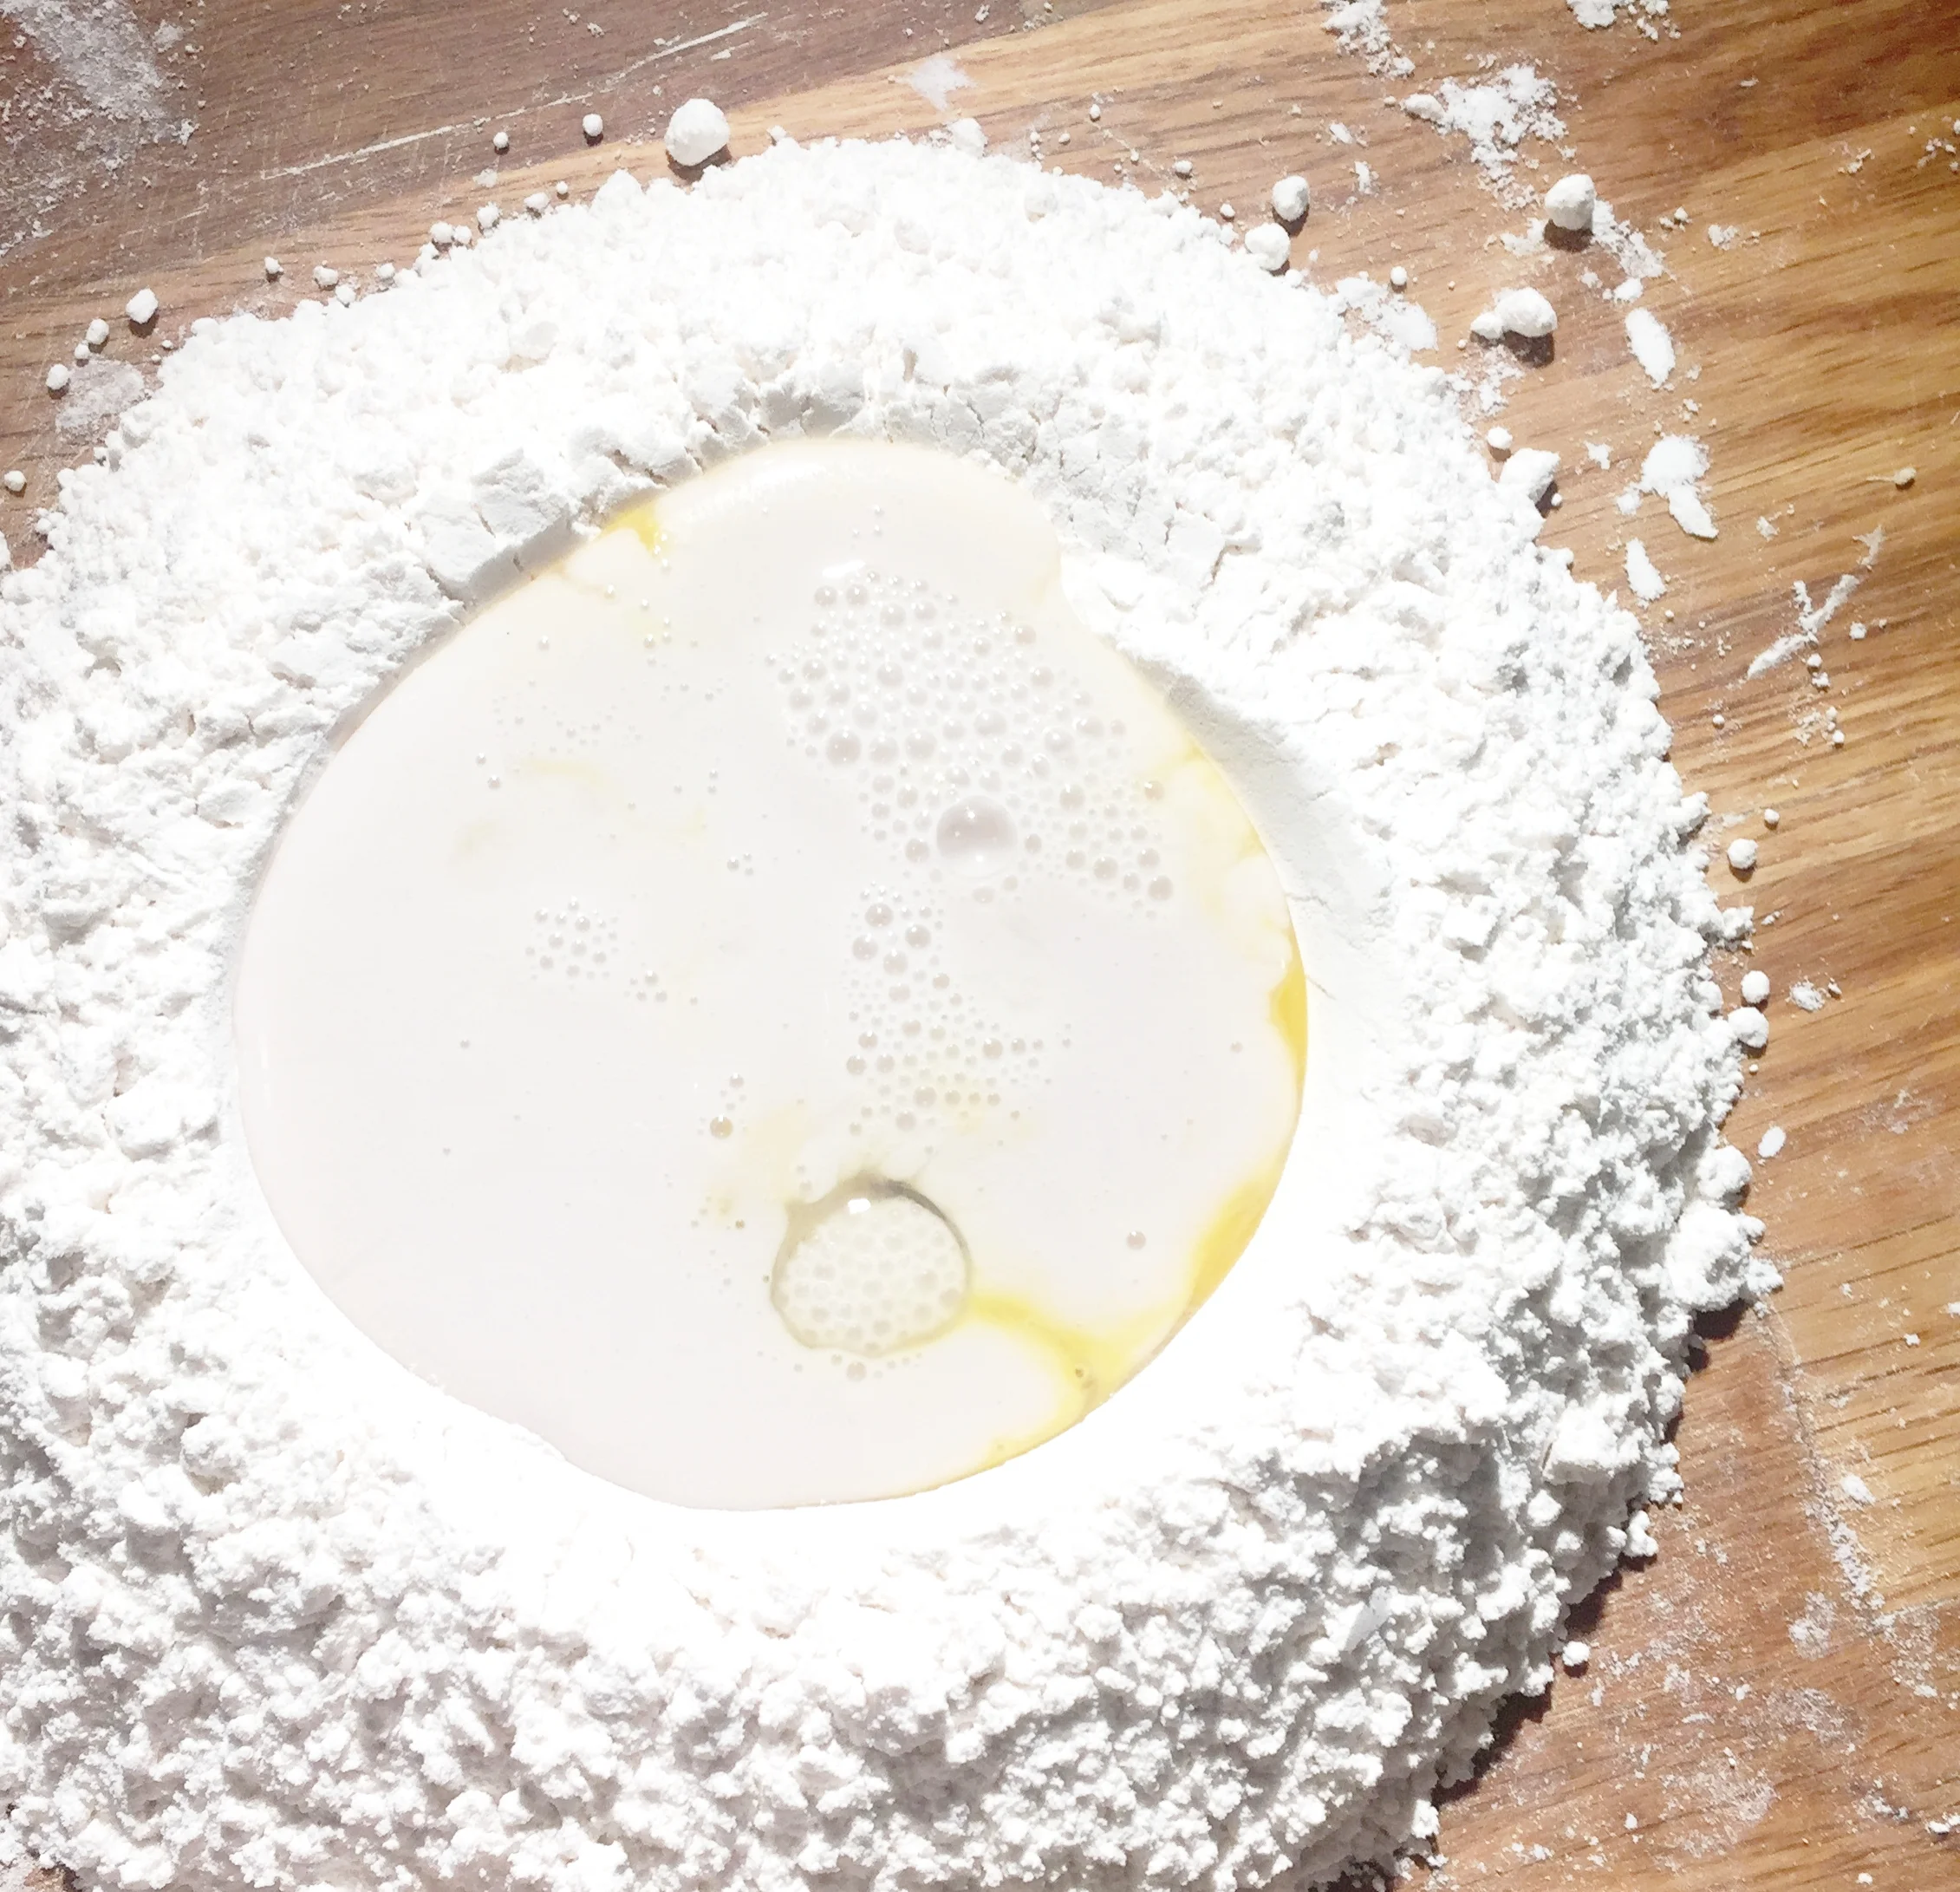
1. Put the flour in a mixing bowl and create a well in the middle.
2. In the well, put the salt, lightly beaten egg, and milk.
3. Slowly mix the flour into the liquid with your hands (By slowly, I mean it doesn’t matter because it’s going to become a big, sticky mess no matter what you do. Just dig your hands in there and try turning that mess into some sort of a solid ball).
4. Once you have the dough in ball form, take it out and knead it on a lightly floured surface (I just used my counter so I wouldn’t have issues fighting with my cutting board).
5. Once it’s kneaded and looks like a beautiful, round sphere, wrap it in plastic wrap and set aside for about 30 minutes.
* You will eventually need a rolling pin; if you don’t have one, you can use a wine bottle. You can use this 30 minute waiting period to empty it if you please (wink, wink).
To Make the Pierogis:

Click HERE to get the equipment you need to make this at home!
1. Bring water to a boil in a pot, and peel and cut your potatoes into big cubes.
2. Once the water is boiling, put the potatoes in for about 15 minutes, or until they fall off a fork.
3. While your potatoes are boiling, make your dough (see above).
4. Drain the potatoes, put them in a mixing bowl, and mash.
5. Add the butter, milk, salt, pepper, and cheese. Set aside to cool.
6. Bring salted water to a gentle boil in a pot, and set up a tray with paper towels to dry your pierogis later.
7. Roll the dough out as thin as you can get it, then cut circles out of the dough that are about 3 inches in diameter. If you don’t have anything to cut the circles out with, you can use the top of a drinking glass, or do what I did and use a small-mouthed Mason jar lid. Once you cut out as many circles as possible, take all of the dough scraps, squish them back into a ball and wrap in the plastic wrap again. You will repeat this process after you run out of circles in step 9.
8. Take one of your circles and roll it again to make it even thinner (make sure you roll in both directions so it doesn’t become an oval).
9. Put a small ball of the mashed potato mixture in the middle of the dough, folding the dough over and pinching the edges. Make sure the mashed potato doesn’t squish in between. Once the dough is pressed together, take a fork and press on the edges to make sure the seal is strong. Repeat step 7 when you’re fully out of circles.
10. Put your pierogis in the boiling water. When your pierogis float to the top of the pot, they’re done. Scoop them out of the pot with a slotted spoon, and place them on the tray with the paper towels. If you run out of room, take some that have dried and move them onto another plate, making sure you don’t overlap them (this will prevent the dumplings from sticking together).
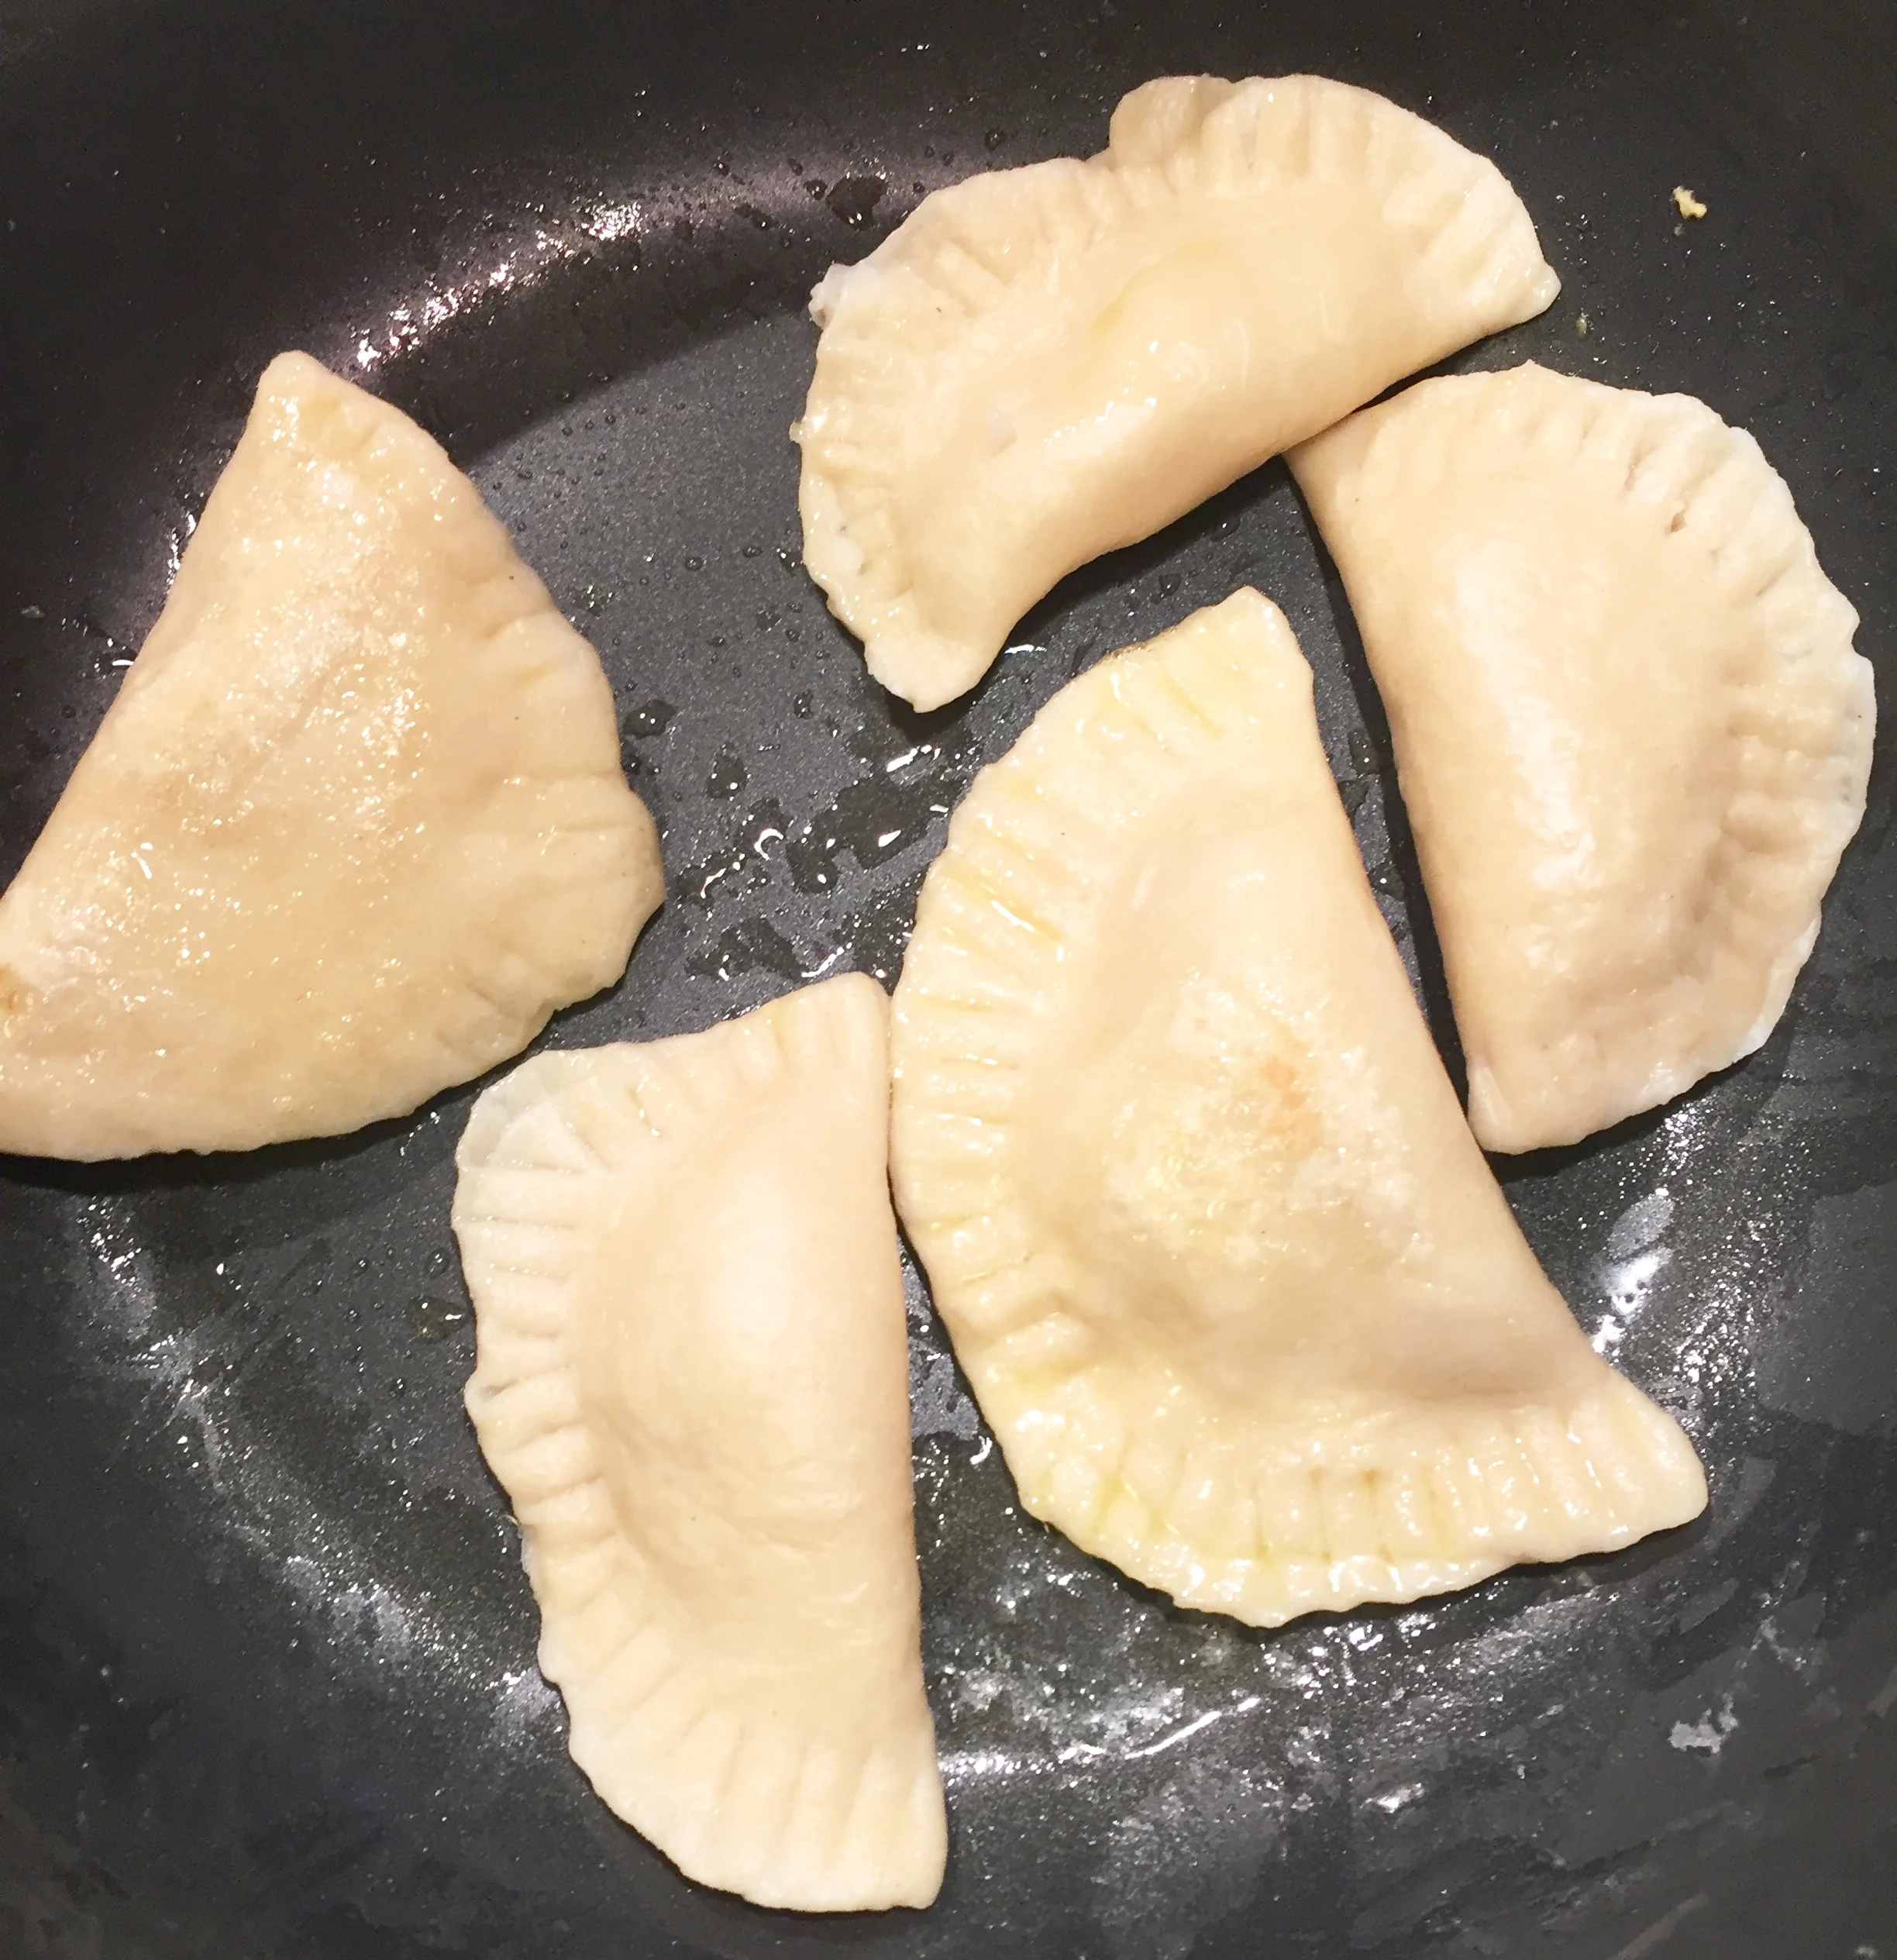
11. Once you’re done making and boiling the pierogis, it’s time to sauté them. Put a little butter in a skillet and put a few pierogis in the pan. Be sure not to overcrowd the pan (At this time I also threw in slices of kielbasa and some of the onions to add some flavor). They’re about finished once they’re a light golden brown.
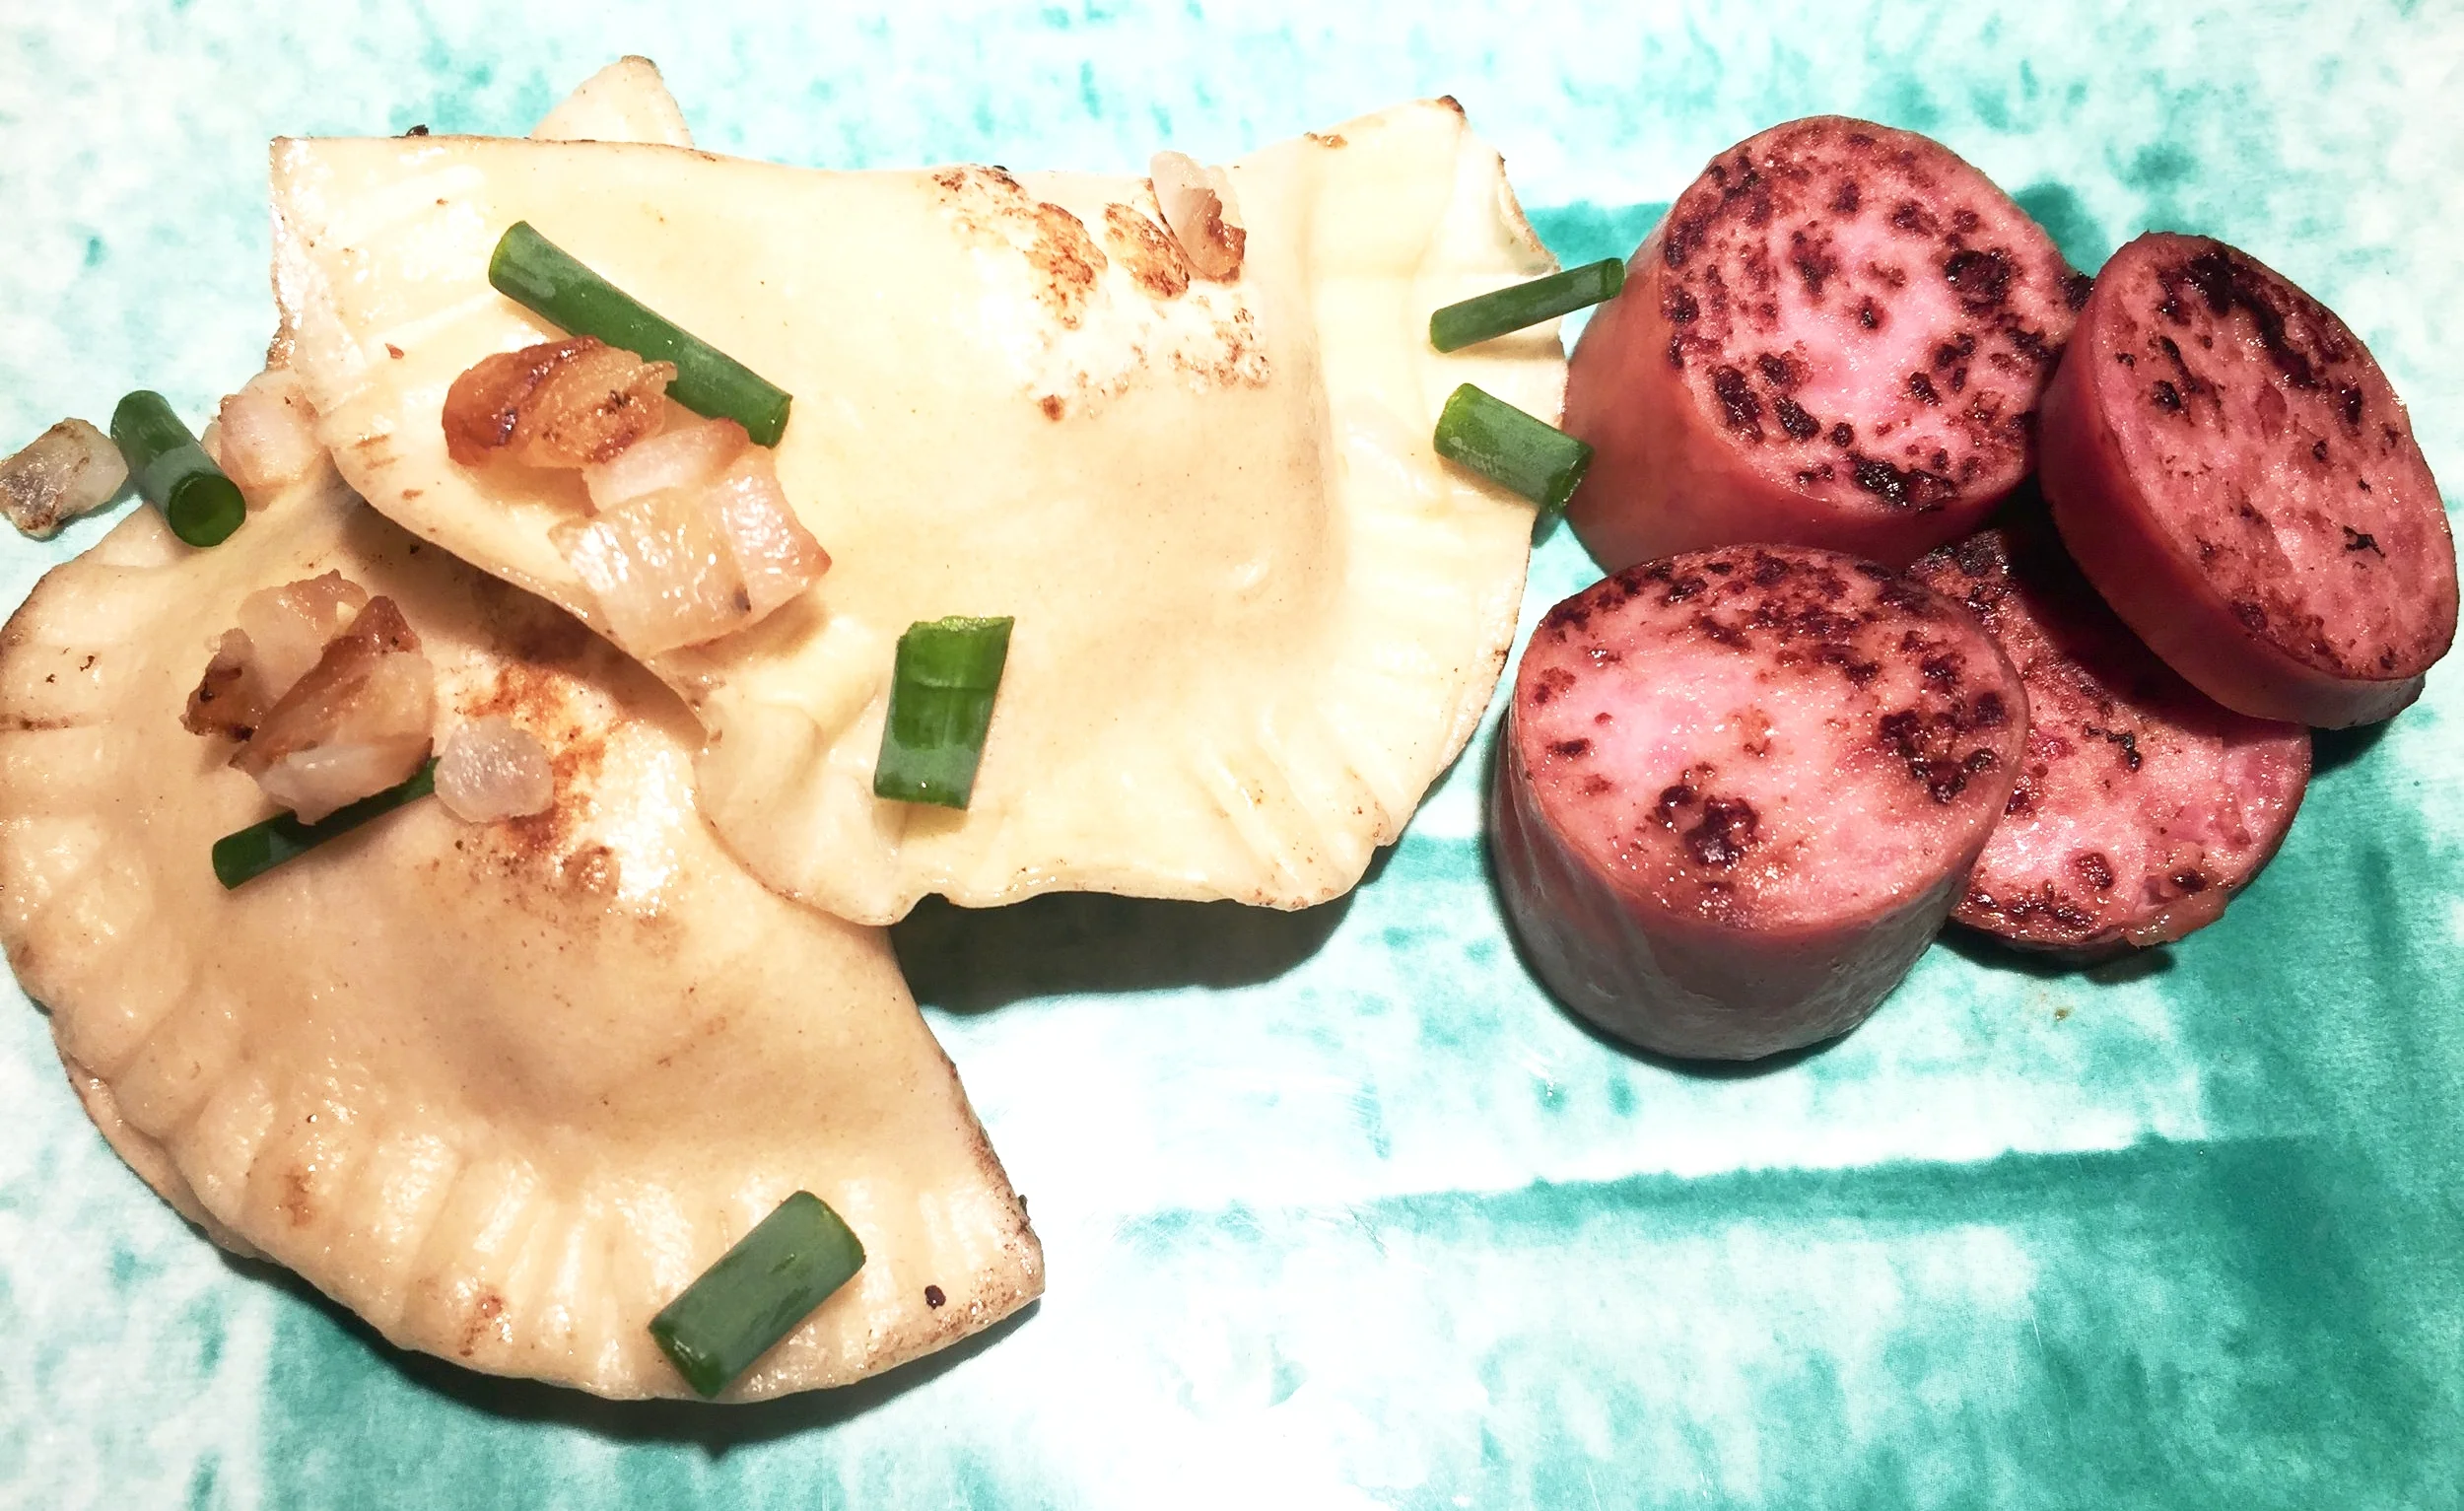
12. Plate your pierogis and kielbasa. Many people like to top theirs with sour cream and chives, I just used the sautéed onions and chives.
As much as these little dumplings turned out to be delicious and loved by all, it took about 5 hours to make three batches of them (maybe now I understand some of the Polish jokes). While spending 5 hours on one meal may be a little excessive and although I became very tired, frustrated, and bruised (from rolling dough with my wine bottle), I will say that I learned a lot from this experience:
I learned that my Polish ancestors must have really cared about their families if they spent this much time making dinner.
I learned that a wine bottle makes a great substitute for a rolling pin (empty or full!).
I learned how to make a pasta dough. This has been something I’ve been terrified of trying for quite a while. I always do boxed pasta, but maybe I’ll make some fresh pasta from time to time now that I know how.
I learned a rhythm that makes the process quicker. At first I was making each pierogi and putting them off to the side to boil in a batch. This was a huge waste of time. Halfway through my second batch I learned to do the process described above. Make a pierogi, throw it in the pot, make another, and scoop out the first one. By my third batch of pierogis, I felt like a professional. This last batch only took about a half hour or so to make. Keep in mind, I already had the dough and mashed potatoes made so it took way less time.
I learned that I can fill these dumplings with virtually anything. I had a ton of ideas racing through my head as to what can go inside besides mashed potatoes. Maybe some shredded meat? Anything and cheese? What about a jalapeno popper pierogi? Why didn’t I think of that sooner?!
Would I make this recipe again? Absolutely. Now that I know how to do it, and how to take shortcuts, I think it will be a lot quicker. Like I said, by the third batch, I was a professional. There is something about making a recipe like this that leaves you with a sense of pride. I felt a victorious when I was done. I had conquered the pierogi.
Share your comments at the bottom of the page.
© Copyright Whatismyhealth, March 19th, 2017